Homemade Filament: The Dream vs. The Reality (What Makers Really Find)
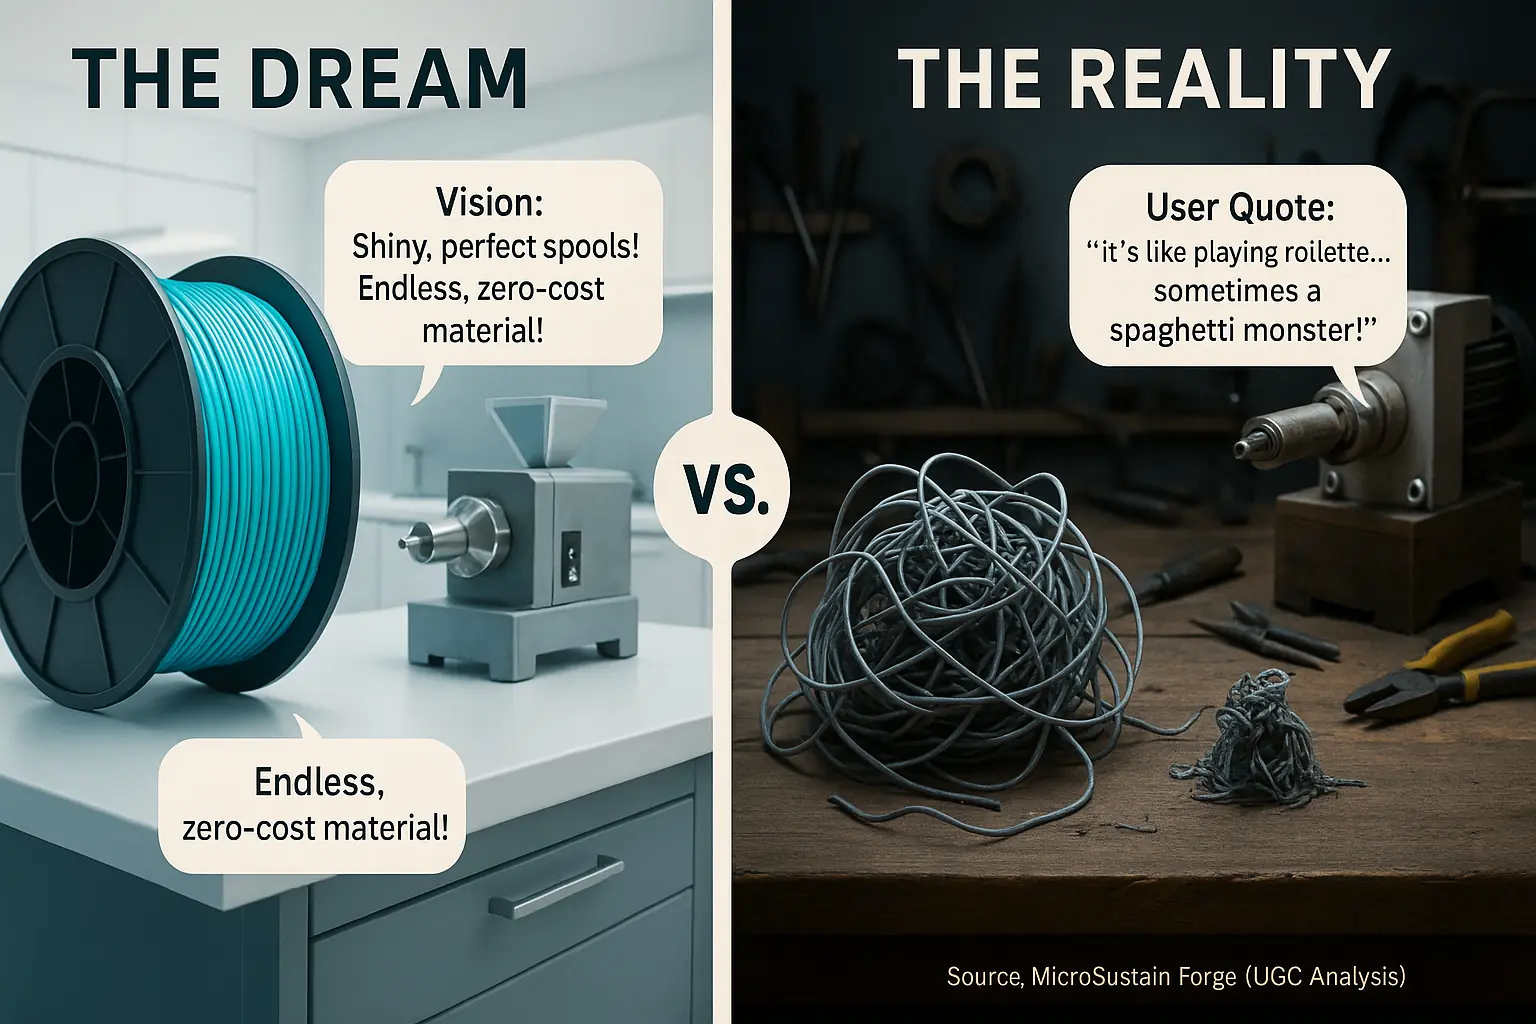
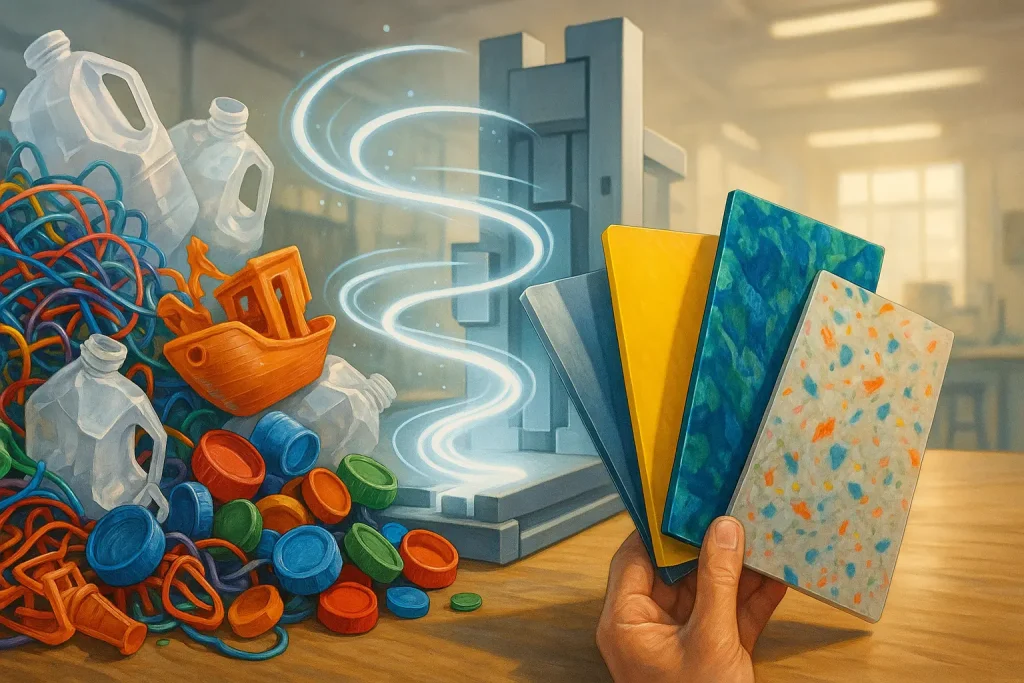
Makers chase the dream: 'free' filament from waste. You've seen those videos—shiny, perfect filament spooling off a homemade machine, seemingly for free. That vision of endless, zero-cost material from your failed prints is powerful, right? But the reality often hits different; our community data mining reveals homemade filament frequently presents challenges. Success is possible. Easy? Rarely.
Our deep dive into maker forums and project logs reveals a common theme: consistency is the homemade extruder's biggest battle. One user perfectly summed it up: "It's like playing roulette with your printer – sometimes you win, sometimes you get a spaghetti monster." This frankness isn't about discouraging. We equip you with the truth, sharing hard-won community insights.
So, what separates frustration from functional filament? Often, it's the "nitty-gritty" details and clever hacks shared by those who have already walked this path. We're here to pull back the curtain on those hard-won lessons. These insights come straight from the maker community.
Beyond the Spool: What 'Quality' Means for Homemade Filament (and How Makers Measure It)
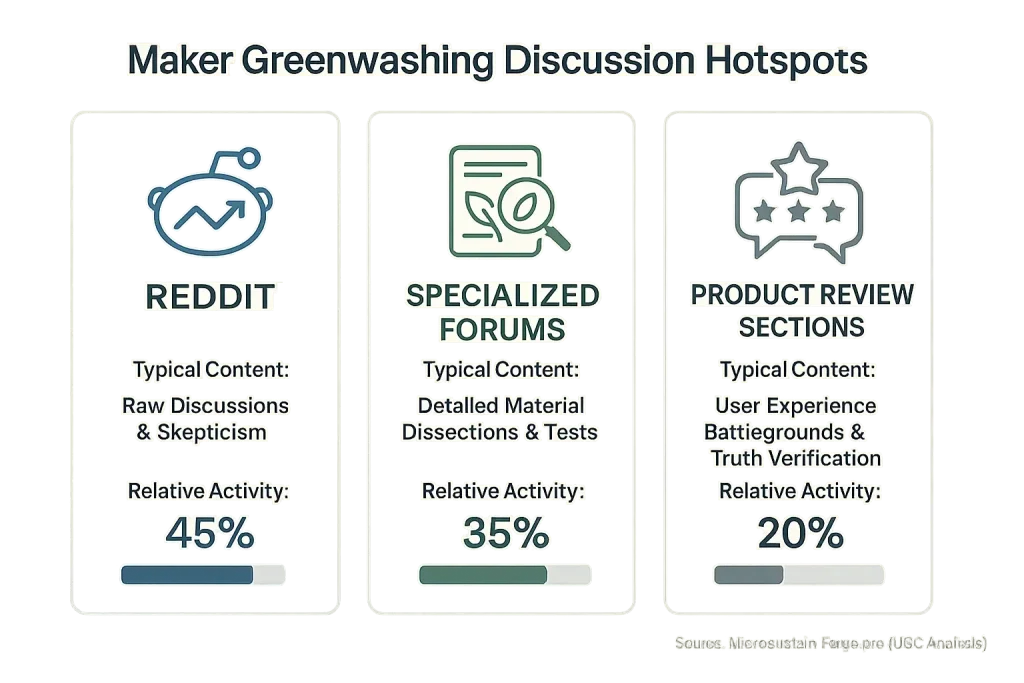
Homemade filament quality extends beyond a simple 'does it print' query. We analyze how consistently your filament performs. We identify potential downstream headaches. Three core attributes emerge from extensive community data mining. Diameter consistency is critical. Material purity significantly impacts outcomes. Overall printability ultimately determines usability. These factors dictate your print's success or its frustrating failure.
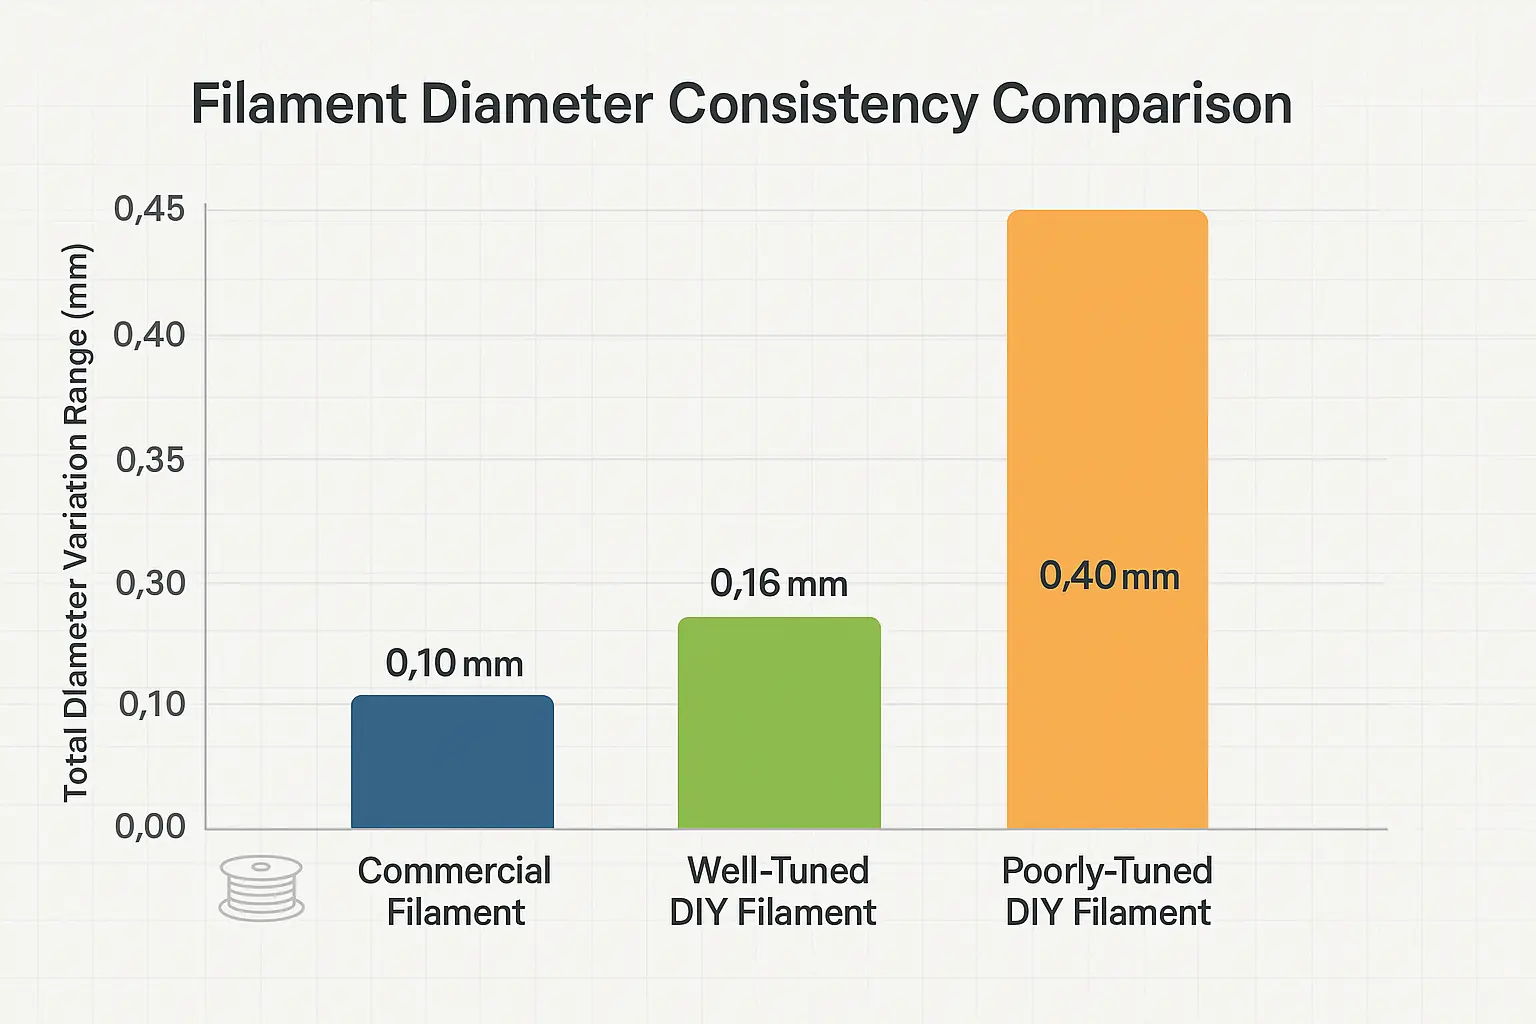
Inconsistent filament diameter acts like a rogue variable for your 3D printer. Imagine trying to draw a precise line. Your pen's tip constantly changes thickness. Your printer faces this exact challenge with poor filament. Our community's troubleshooting logs frequently pinpoint sudden filament thickness changes. These variations cause under-extrusion. They also lead to over-extrusion. The result is often a ruined print. Makers commonly measure diameter using calipers, often checking every few meters. Some construct DIY jigs with optical sensors for more continuous assessment, achieving impressive precision.
Material purity, or the lack thereof, is another major concern for homemade filament. Contaminants are silent print killers. Microscopic dirt particles can clog nozzles. Moisture absorbed from humid air makes prints brittle. Unwanted chemical residues alter filament properties. Even tiny metallic fragments can damage your extruder. Users often trace mysterious print failures or weak spots directly to these hidden impurities in their recycled feedstock. It is like finding unexpected ingredients in your recipe; the final product rarely meets expectations.
Printability provides the ultimate verdict on your homemade filament. Does it adhere well to the bed and subsequent layers? Does it produce strong, durable parts? What about the surface finish? Makers routinely conduct their own practical evaluations. They print challenging, small models. They perform stress tests on printed components. These real-world "torture tests" reveal if the filament truly holds up under pressure. Issues like poor layer adhesion, sometimes linked to moisture, quickly become apparent.
The 'Oops!' Moments: Common Mistakes in DIY Filament Extrusion (and How They Ruin Your Prints)
Every seasoned maker has an 'oops!' story. DIY filament extrusion offers no exception. Our deep dive into community forums reveals recurring blunders. These mistakes turn precious plastic waste into unusable spaghetti. We will illuminate these common missteps. You can then avoid them.
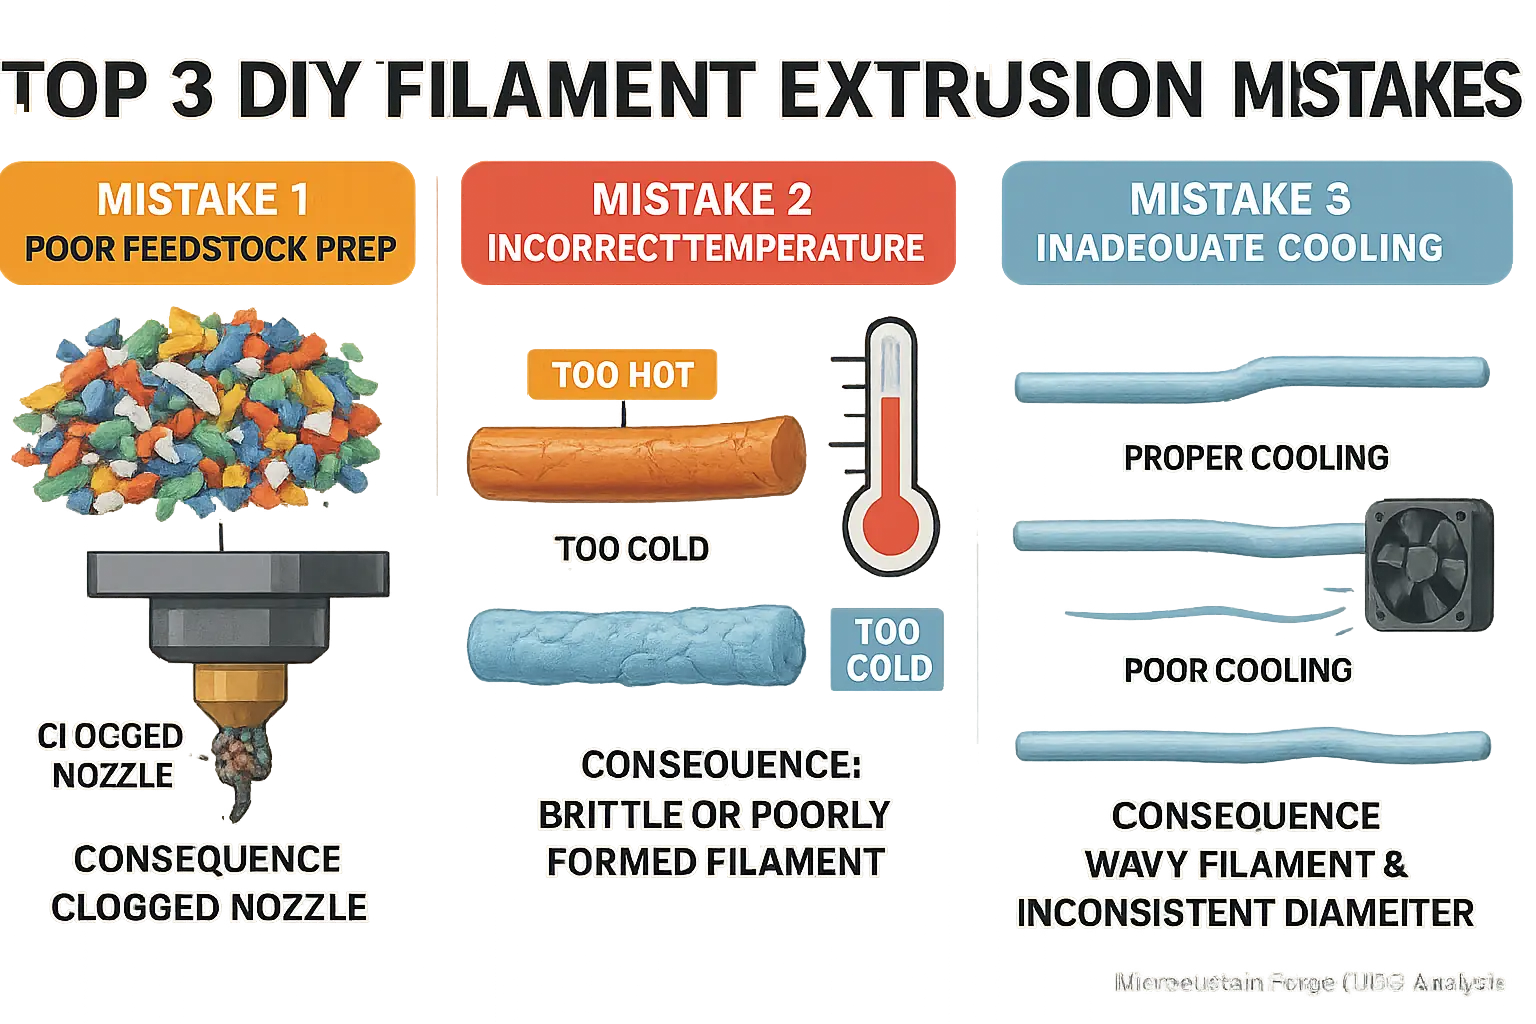
Poor feedstock prep is the first mistake. It is perhaps the most underestimated. Many users jump straight to shredding. They also jump to extruding. They forget tiny contaminants. Paper, glue, or different plastics can sabotage filament. One maker shared a common frustration. His nozzle constantly clogged with paper confetti from old bottle labels. This experience highlights a key lesson. Meticulous sorting and cleaning are non-negotiable.
Nailing correct temperature is another common pitfall. Proper cooling is also crucial. Plastic degrades if too hot. It becomes brittle. Plastic extrudes poorly if too cold. And cooling? Makers often overlook it. One user reported wavy filament. His filament was not a consistent strand. His cooling setup proved inadequate. This oversight directly impacts diameter consistency. Printability suffers greatly.
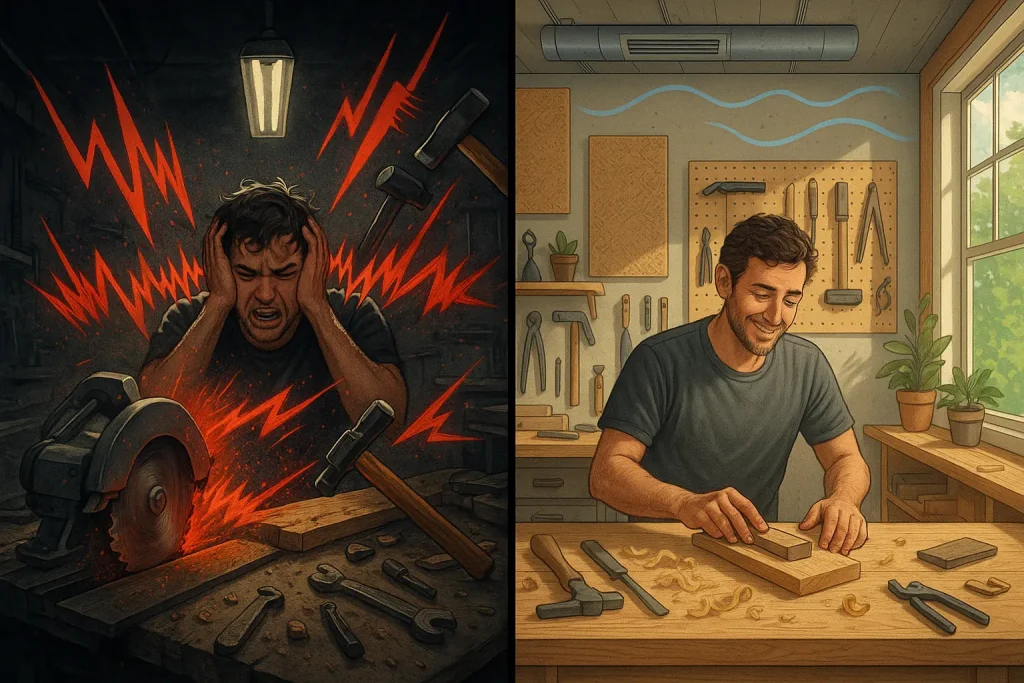
Safety is finally, and critically, paramount. Many eager users overlook proper ventilation. They also forget protective gear. One maker learned about fumes the hard way. He felt dizzy. Melting plastic in an unventilated garage caused this. Ignoring these warnings brings serious health consequences. A sustainable hobby can become a real hazard. Please, be careful.
The 'Secret Sauce': Maker Hacks for Unlocking Better Homemade Filament Quality
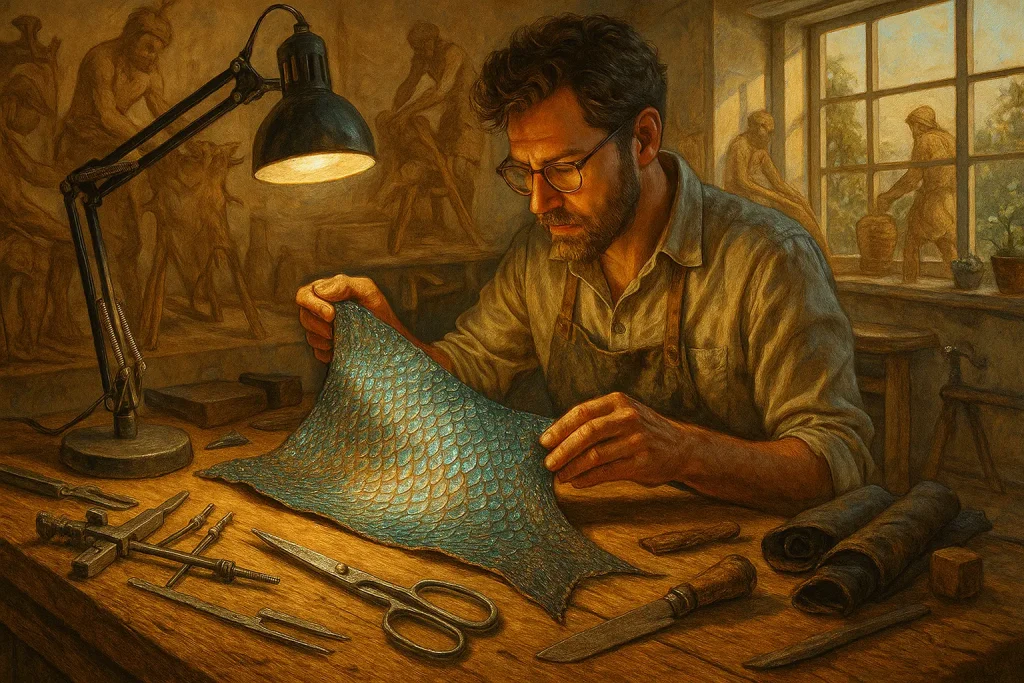
You've faced filament challenges, true? Now explore the 'secret sauce': clever tricks and refined techniques separating good homemade filament from exceptional. Basic build guides often miss these points. They are goldmines of community wisdom.
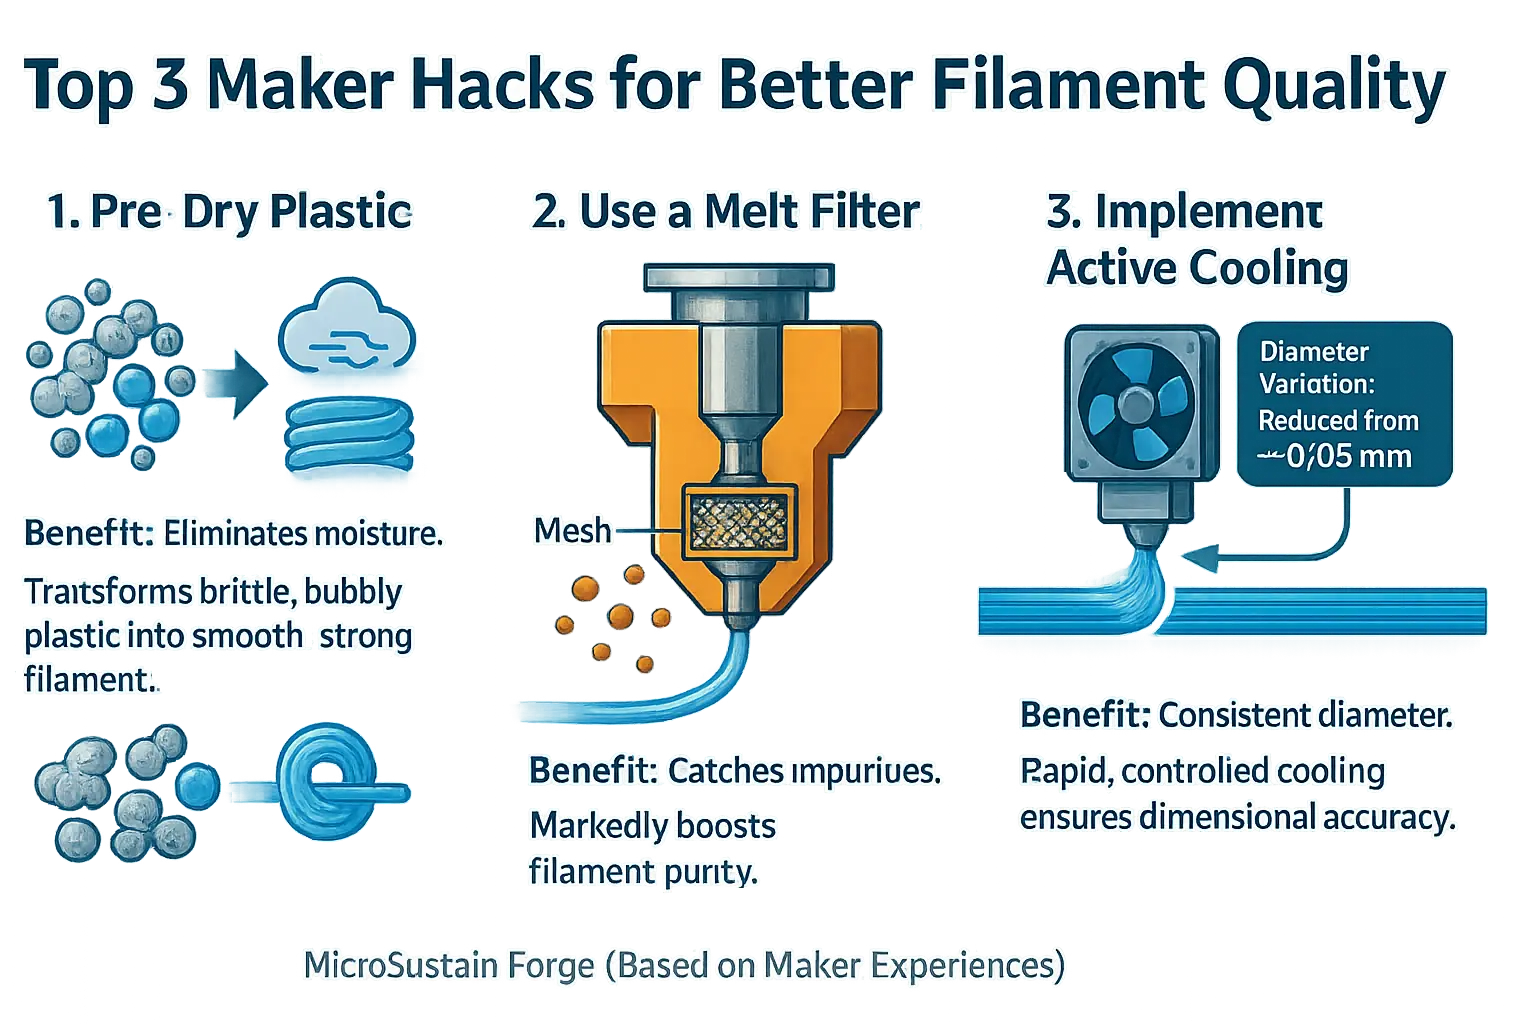
A huge 'aha!' moment for numerous makers involves pre-drying plastic feedstock. "My filament transformed from brittle, bubbly to smooth, strong through drying plastic chips before extrusion," one maker excitedly reported. This straightforward step eliminates moisture, a common culprit for inconsistent extrusion and weak prints. Another secret: adding a melt filter to catch impurities, markedly boosting purity before filament hits your nozzle.
Precision is vital; here, active cooling and closed-loop diameter control enter. Advanced makers use fans or water baths, rather than passively letting filament cool, to rapidly and consistently cool the strand. "My diameter variation dropped from 0.1mm to 0.03mm after adding an effective cooling fan and basic sensor," shared a user, showcasing these upgrades' power. Consistent flow to your 3D printer results.
Consider post-processing too; do not underestimate its impact. Certain makers anneal homemade PLA filament after extrusion, baking it at low temperatures to increase strength and reduce brittleness. An extra step? Users say yes. For functional parts, they report it is worth the effort.
Troubleshooting Your Homemade Filament: When Things Go Sideways (and What's Next for DIY Extrusion)
Even with careful preparation, homemade filament sometimes disappoints. Your filament might become brittle. It could show inconsistency. It might refuse to print. Do not lose hope. Most problems, like sudden diameter changes or persistent clogs, have known causes. Moisture often plays a role. Inconsistent feedstock is another common source. Temperature fluctuations also create headaches. The maker community has faced these issues. Solutions exist.
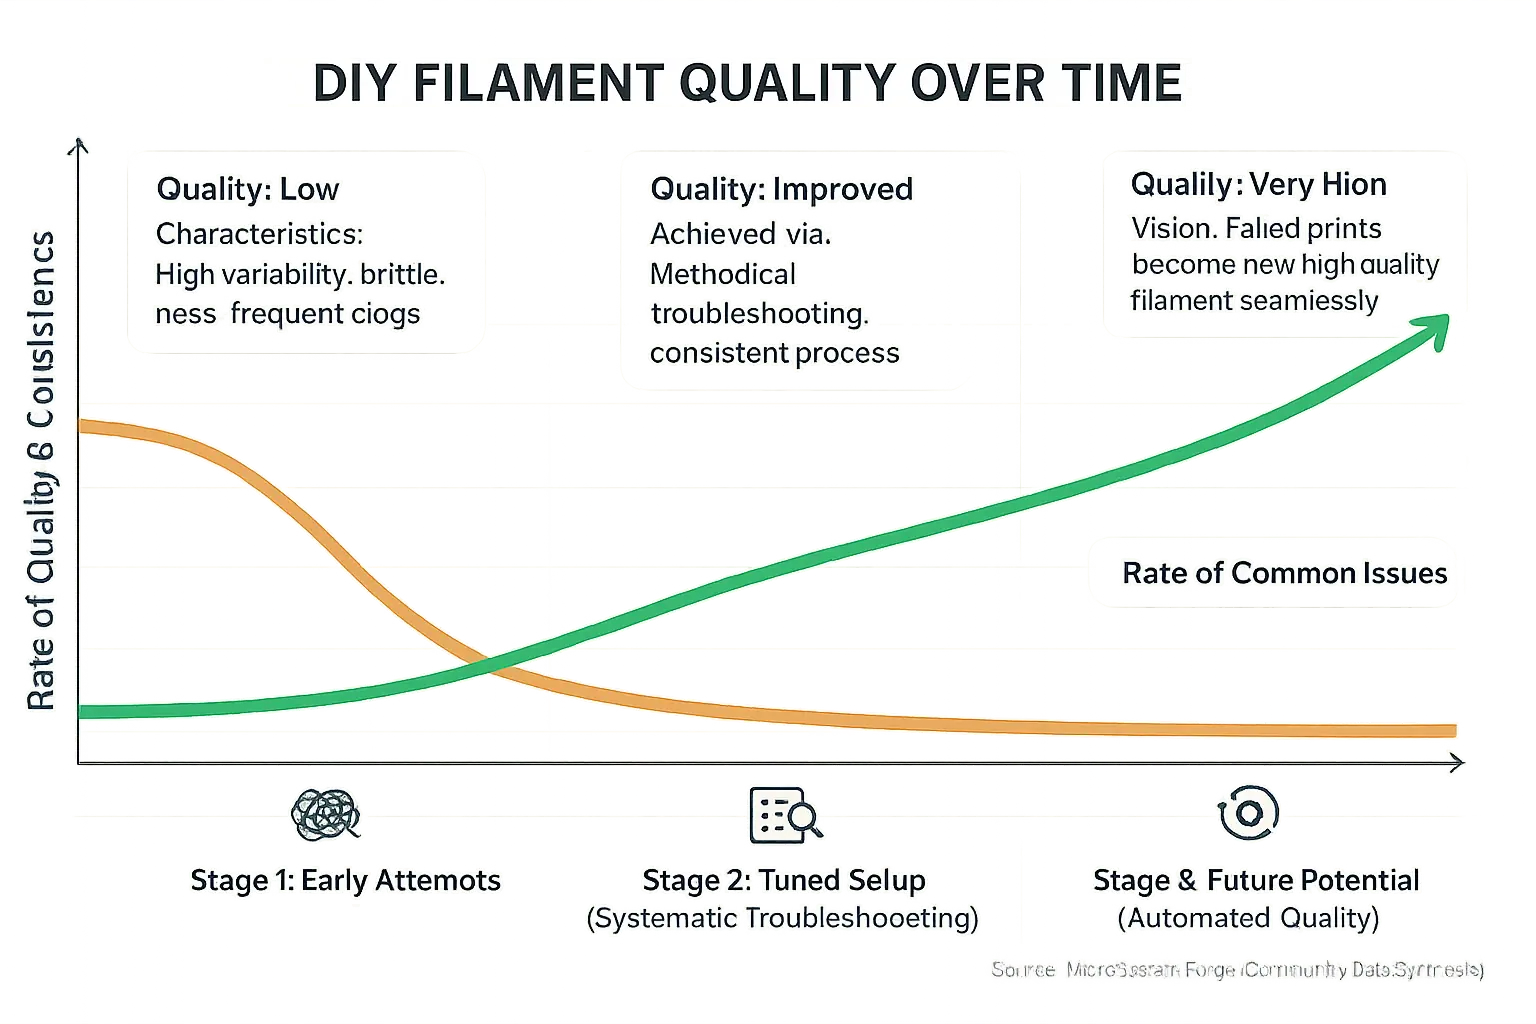
Approach troubleshooting systematically. Think like a detective. Is your raw plastic truly dry? Does your extruder maintain steady heat? Are cooling fans performing correctly? Many users keep a troubleshooting log. This tracks changes. It records results. Frustration becomes valuable data. This methodical approach improves consistency. It really is a game-changer.
What does the future hold for homemade filament? This field evolves constantly. Makers experiment with new plastic types. They develop more precise control systems. Some even integrate user-generated analysis for quality control. Imagine a future. Failed prints there seamlessly become new, high-quality filament. Minimal effort required. That is the dream we collectively forge.
DIY filament extrusion is a journey. It is not a final destination. Real magic happens when makers share. They share breakthroughs. They share failures too. Keep experimenting. Keep learning. Continue sharing your insights. Together, we do more than recycle plastic. We build a more sustainable future. One spool at a time.
Related Insight: DIY PET Bottle Filament: Quality, Problems & Potential (Experimenter's Log UGC)
Turning PET bottles into 3D printer filament fascinates many makers. It's a direct path to recycling. Our UGC analysis reveals this journey is often challenging. Yet, the rewards of making filament from bottles can be substantial for dedicated experimenters.
Understanding the unique quality aspects of DIY PET bottle filament is crucial. Maker experiments document both surprising successes and common problems with this recycled PET filament. This material holds real potential. But practical insights are key.