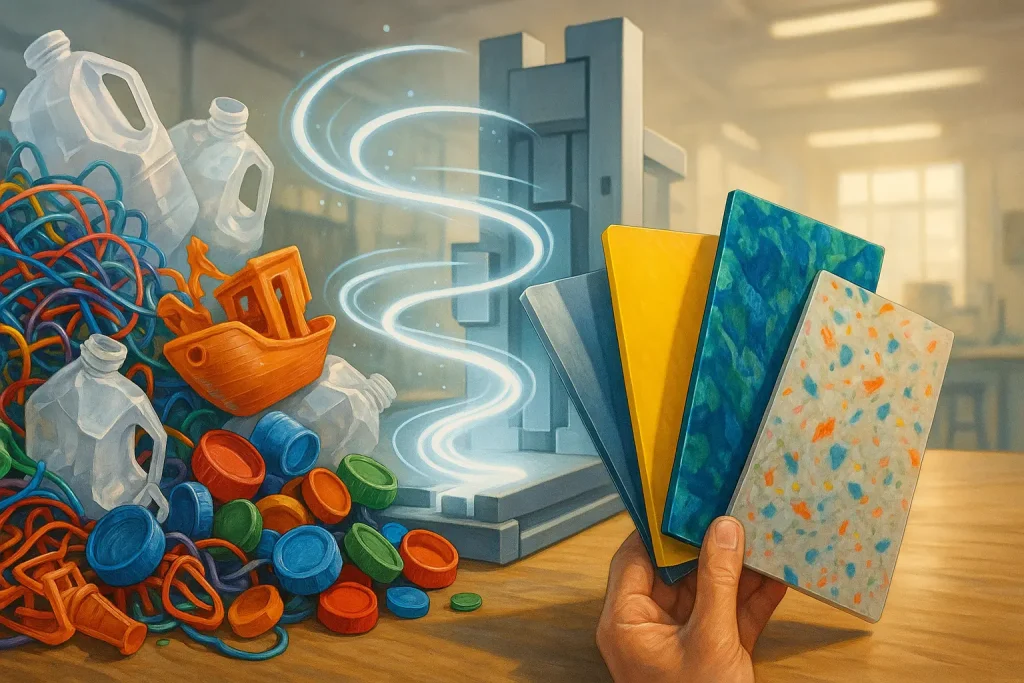
Why Meticulous Sorting & Cleaning is Your First Step to Successful DIY Plastic Recycling
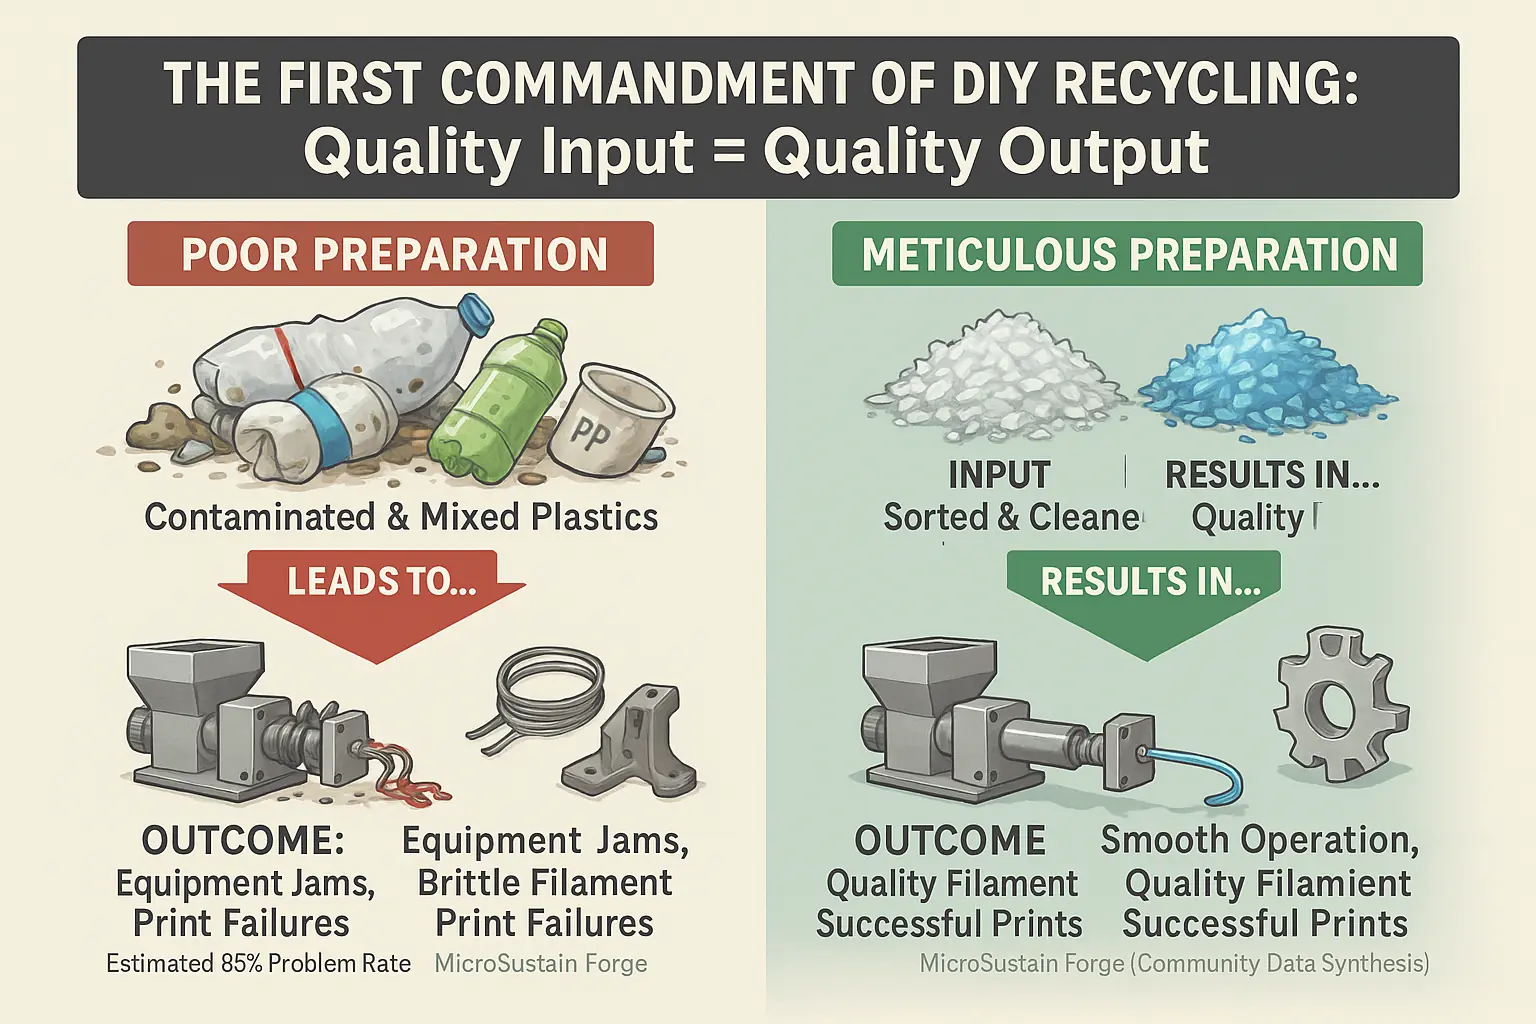
DIY plastic recycling fails. Frustration mounts. The unspoken culprit? Poor waste preparation. Meticulous sorting is the First Commandment. Thorough cleaning is its vital partner. Skipping this stage guarantees downstream problems, a truth many makers learn the hard way.
Picture this. Your new DIY shredder jams. Constantly. Or your homemade filament snaps mid-print. Disaster. Many makers report this exact frustration online. The root cause often is not the machine; it is contaminated plastic. Quality output demands quality input. This initial prep is the true foundation for your recycling success.
How do you conquer this? Our guide details community-honed preparation methods. We show you their proven steps. These transform potential headaches into smooth processes. Doing it right first saves time. It conserves materials. Critically, it preserves your sanity.
Decoding the Plastic: How to Identify Different Types of 3D Print Waste (UGC-Tested Methods)
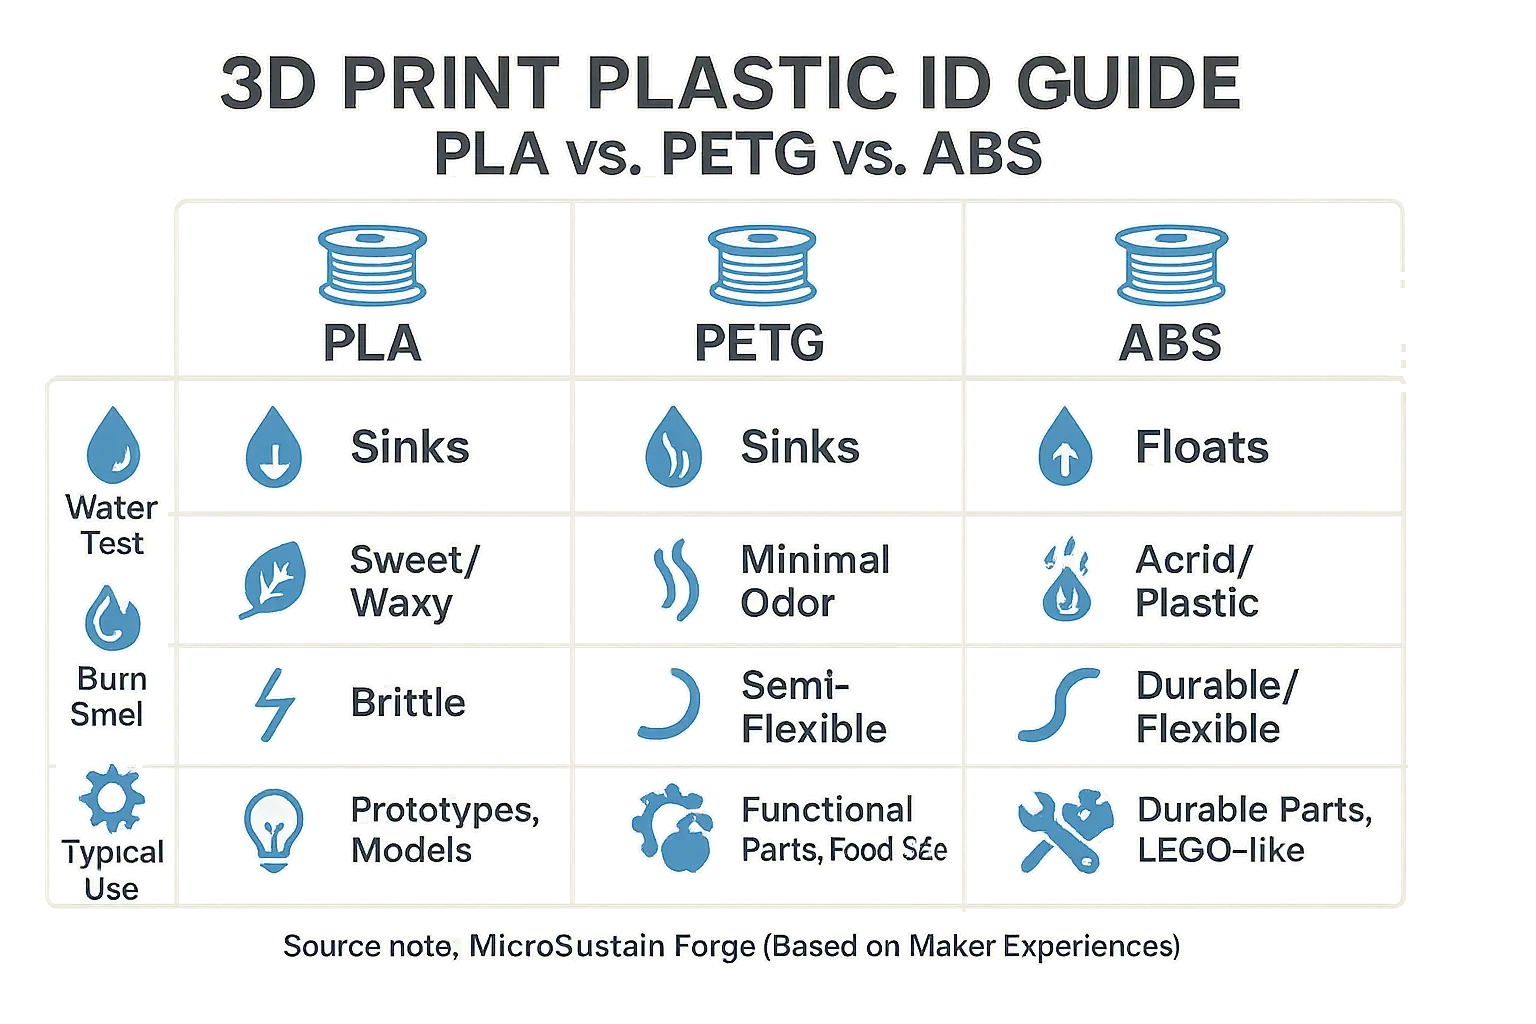
Which Plastic is This? A Quick ID Flowchart
Let's identify your plastic waste. Does it float or sink in water?
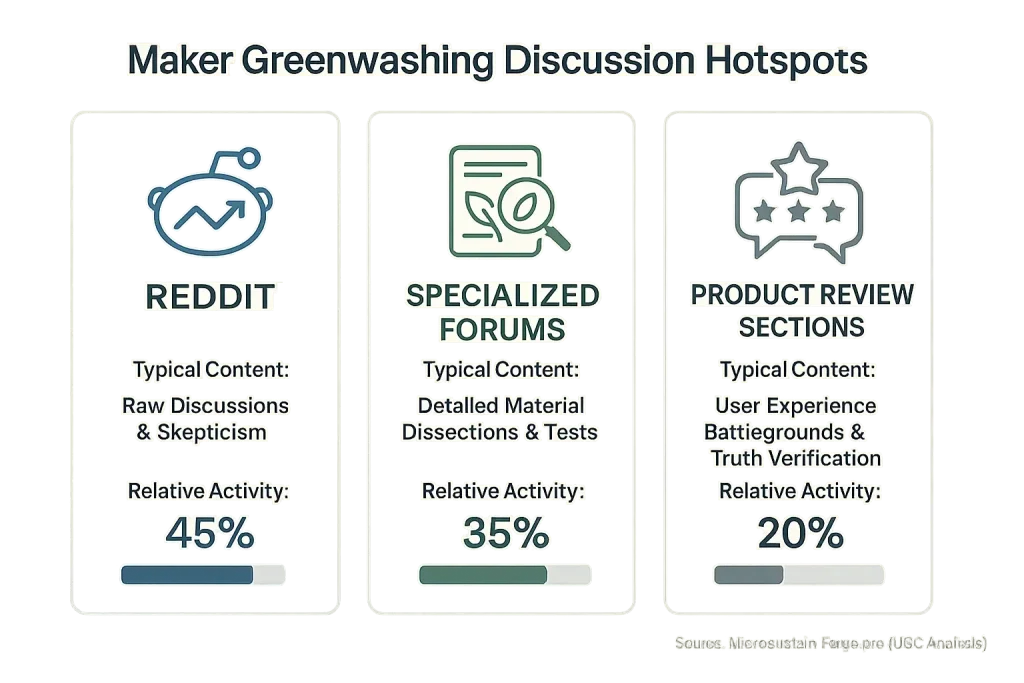
The flowchart offers a quick start. Real-world plastic identification can be trickier; maker forums show even experienced printers misidentifying materials, especially with mixed scrap or unlabeled filament. Our UGC analysis reveals an unspoken truth. Misidentification is a primary cause of DIY recycling failures, yielding extruder clogs and weak, unusable recycled filament. These frustrating outcomes often trace back to contaminated plastic batches.
Community wisdom offers more clues beyond basic tests. Examine print-specific characteristics; extensive support material often indicates PLA or PETG. The plastic's feel and flexibility also provide hints. Experienced makers stress one important practice. Keep different plastics strictly separated from waste generation; this prevents contamination and saves headaches.
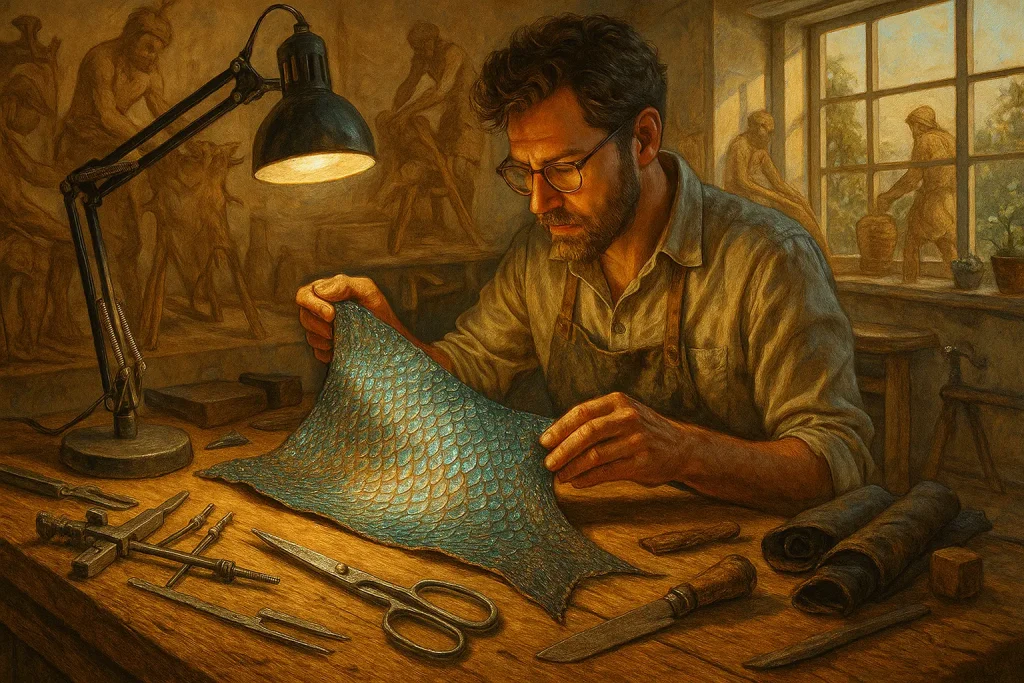
The Art of Cleaning: Removing Labels, Glue & Other Contaminants from Your Plastic Waste (UGC Methods)
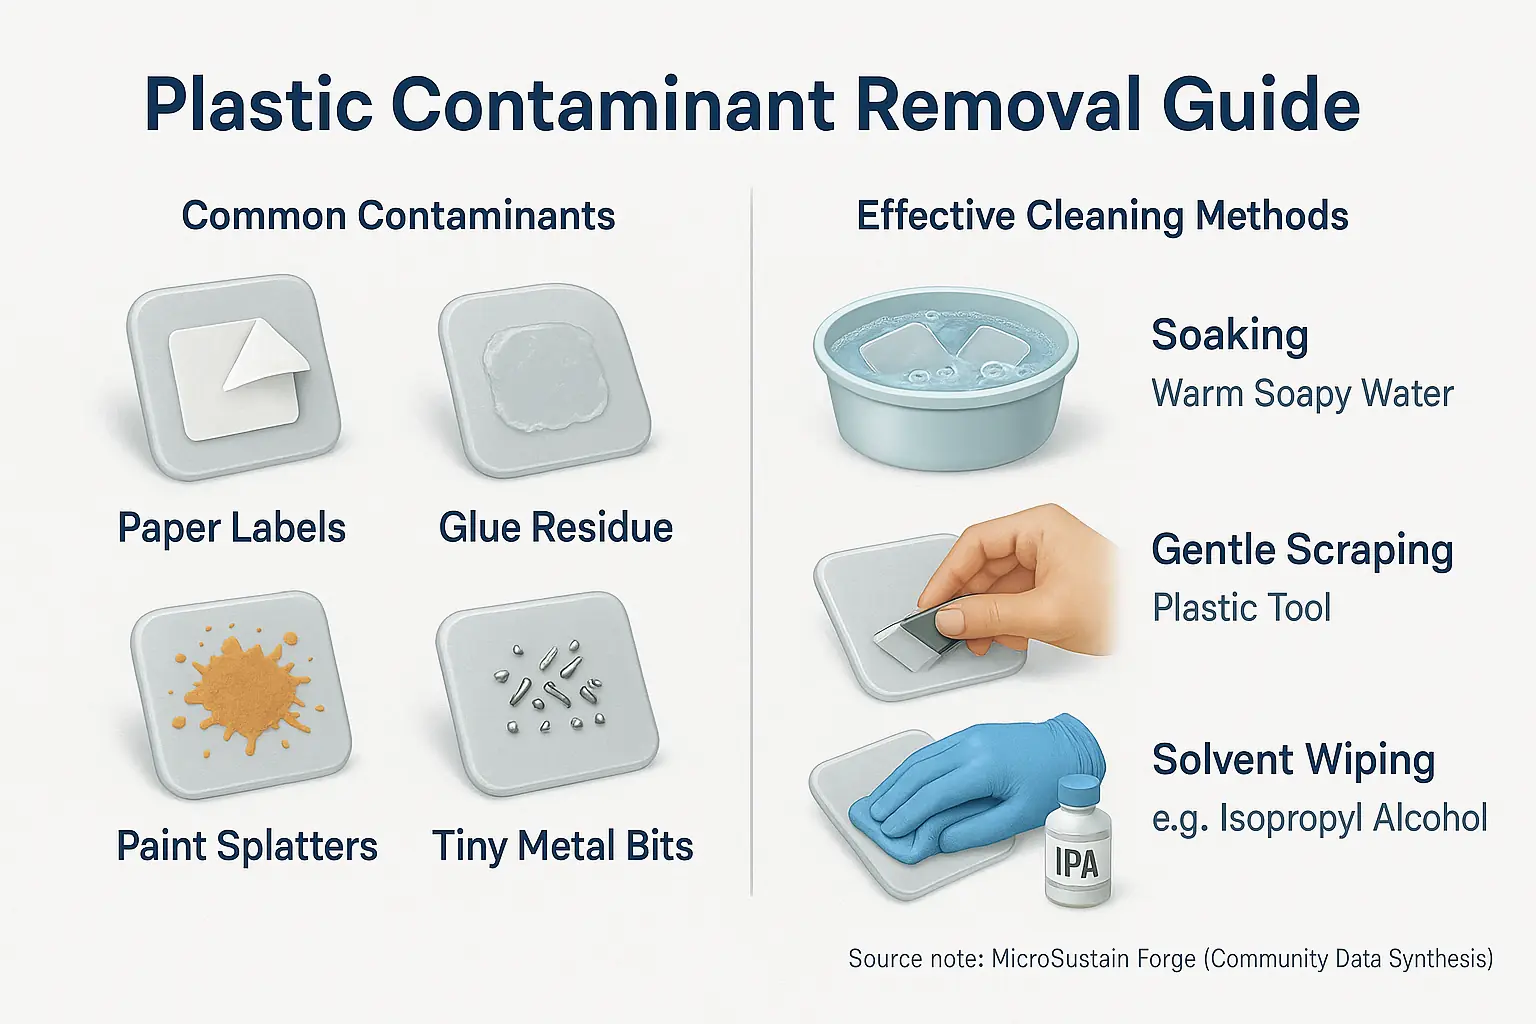
Cleaning plastic waste is an art. It demands more than a quick rinse. Common contaminants like paper labels create problems. Residual glue, paint, or even tiny metal bits from tools also cause trouble. These materials can damage shredders and extruders. Many makers learn this truth the hard way. A small paper label, seemingly harmless, can carbonize inside an extruder. This leads to persistent clogs. It also creates harmful off-gassing.
Practical cleaning methods exist. Soaking plastic in warm soapy water often works. This technique removes many labels and some glues. What about stubborn residues? Makers suggest gentle scraping. Use a plastic tool for this. Mild solvents like isopropyl alcohol can dissolve certain glues. Always ensure good ventilation when using any solvent. Remember, clean means truly contaminant-free, not just visually clear.
Here's a trick. Many overlook this. For particularly dirty or painted pieces, consider a rough shred first. Then wash the resulting plastic flakes. This technique exposes much more surface area. Cleaning becomes significantly more effective. It beats washing large, intact prints. Mastering this cleaning art prevents future equipment headaches. It also ensures purer recycled material for your projects.
Drying Your Plastic Flakes: Why This Often-Skipped Step is Crucial for Quality DIY Filament (UGC Setups)
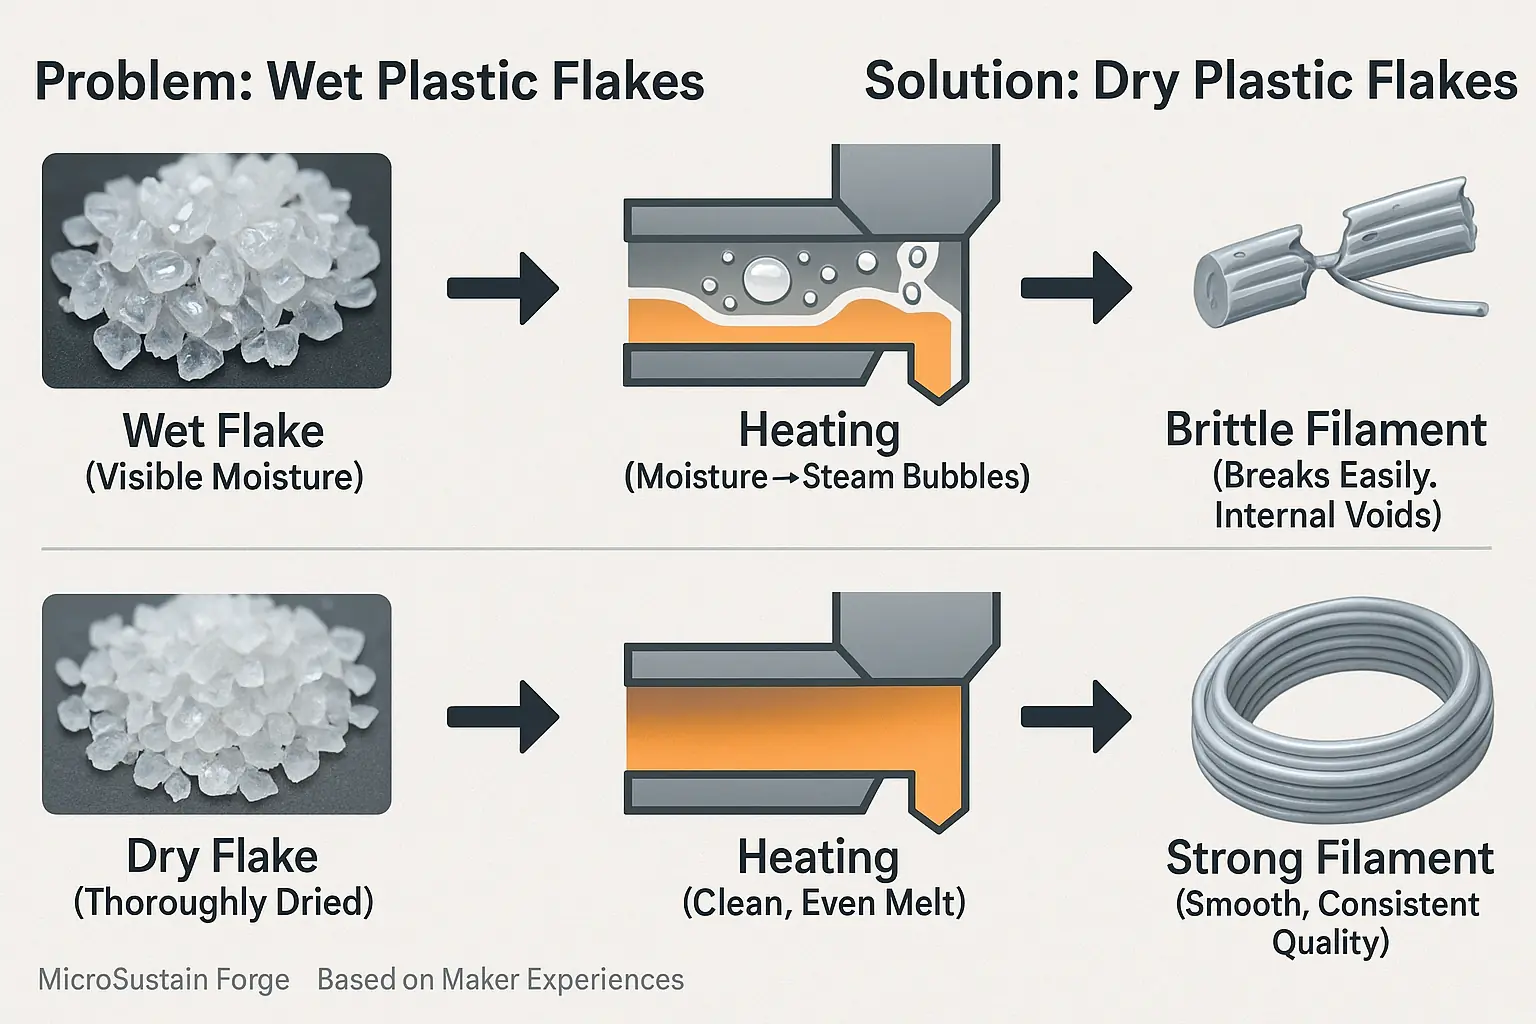
You meticulously cleaned your plastic. Now what? Many makers, eager to shred, skip drying. That is a mistake. This oversight haunts many DIY filament extruders. Even seemingly invisible moisture creates significant problems during melting and extrusion, compromising your final filament quality.
Wet plastic hits the extruder's heat. That trapped moisture instantly turns to steam. Steam creates voids and bubbles within your filament. This directly leads to brittle prints, frustratingly inconsistent diameter, and even stubborn extruder clogs. Users often describe a distinct 'popping' sound during extrusion; a clear sign of trapped moisture actively ruining their hard work.
Several practical, community-tested drying methods exist. A food dehydrator on a low temperature setting works well. Makers also use a conventional oven on its absolute lowest setting, exercising extreme caution and ensuring robust ventilation. Simple air drying in a well-ventilated, low-humidity space is another option, though slower. For best results, spread your plastic flakes thinly on a mesh or baking sheet. This simple action maximizes surface area for evaporation, drastically speeding drying compared to a dense pile. Patience here is absolutely essential for quality results.
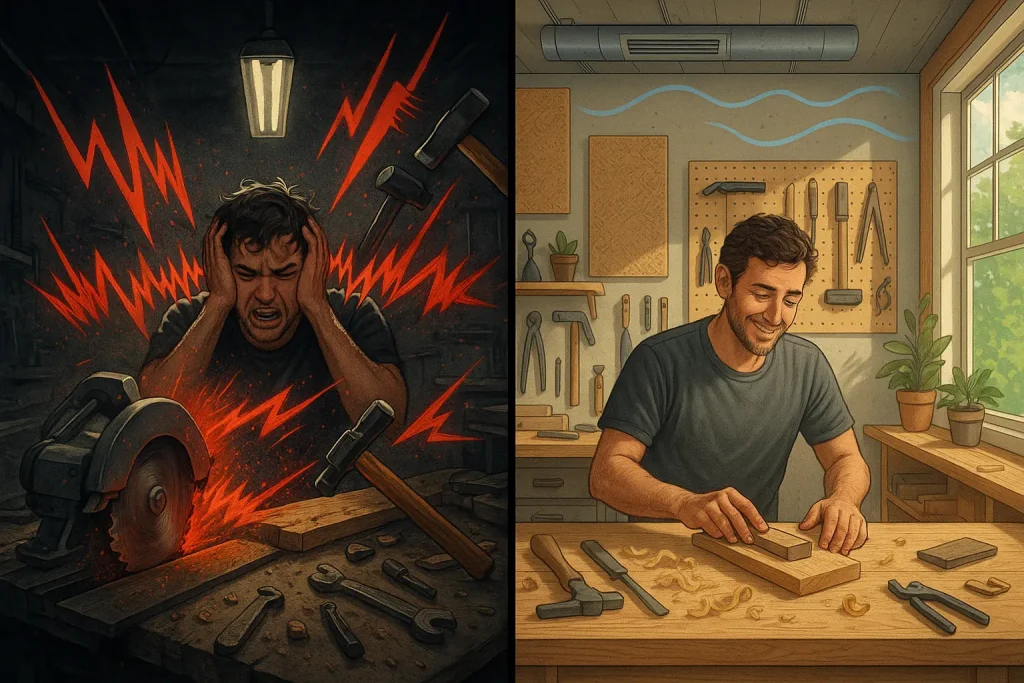
The Hidden Costs of Poor Prep: Clogs, Fumes & Failed Prints You Can Avoid (UGC Warnings)
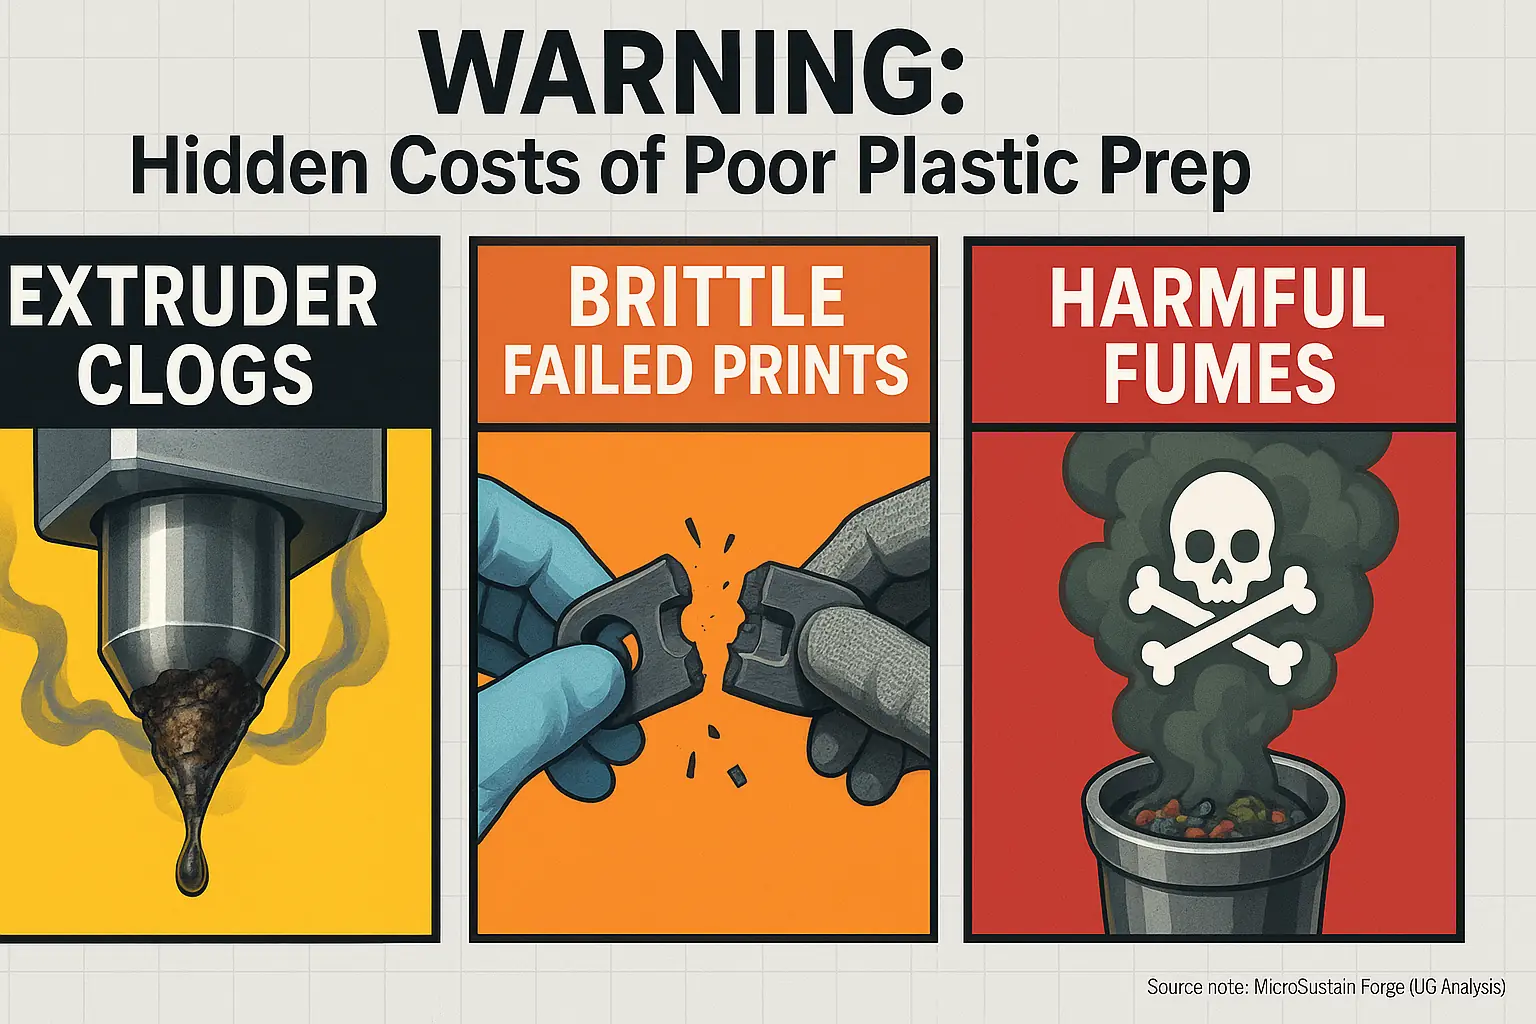
Rushing plastic preparation seems like a time-saver. It is not. Maker communities share countless warnings online. Extruder clogs become frequent. Noxious fumes fill workshops. Failed prints pile up. These problems often stem from shortcuts at this crucial stage.
Mixing plastic types invites trouble. Even small foreign bits cause extruder jams. Clearing these jams tests your patience. Different plastics melt at different temperatures. This variance creates inconsistent filament flow. It ensures weak bonds in prints. Contaminants like paint or unknown plastics release foul, sometimes harmful, fumes when heated. Your workshop can become a safety risk.
Each clogged nozzle steals your valuable time. Every brittle print wastes material. Airing out fumes from bad plastic costs effort. These are the hidden costs. So-called 'free' plastic reveals its true price with poor prep. This is an unspoken truth in DIY recycling. Preparation is not merely a task. It is a direct investment in your project's success. Prioritize it.
Essential Tools & Simple Setups for Sorting & Cleaning Your Plastic Waste (UGC Recommended)
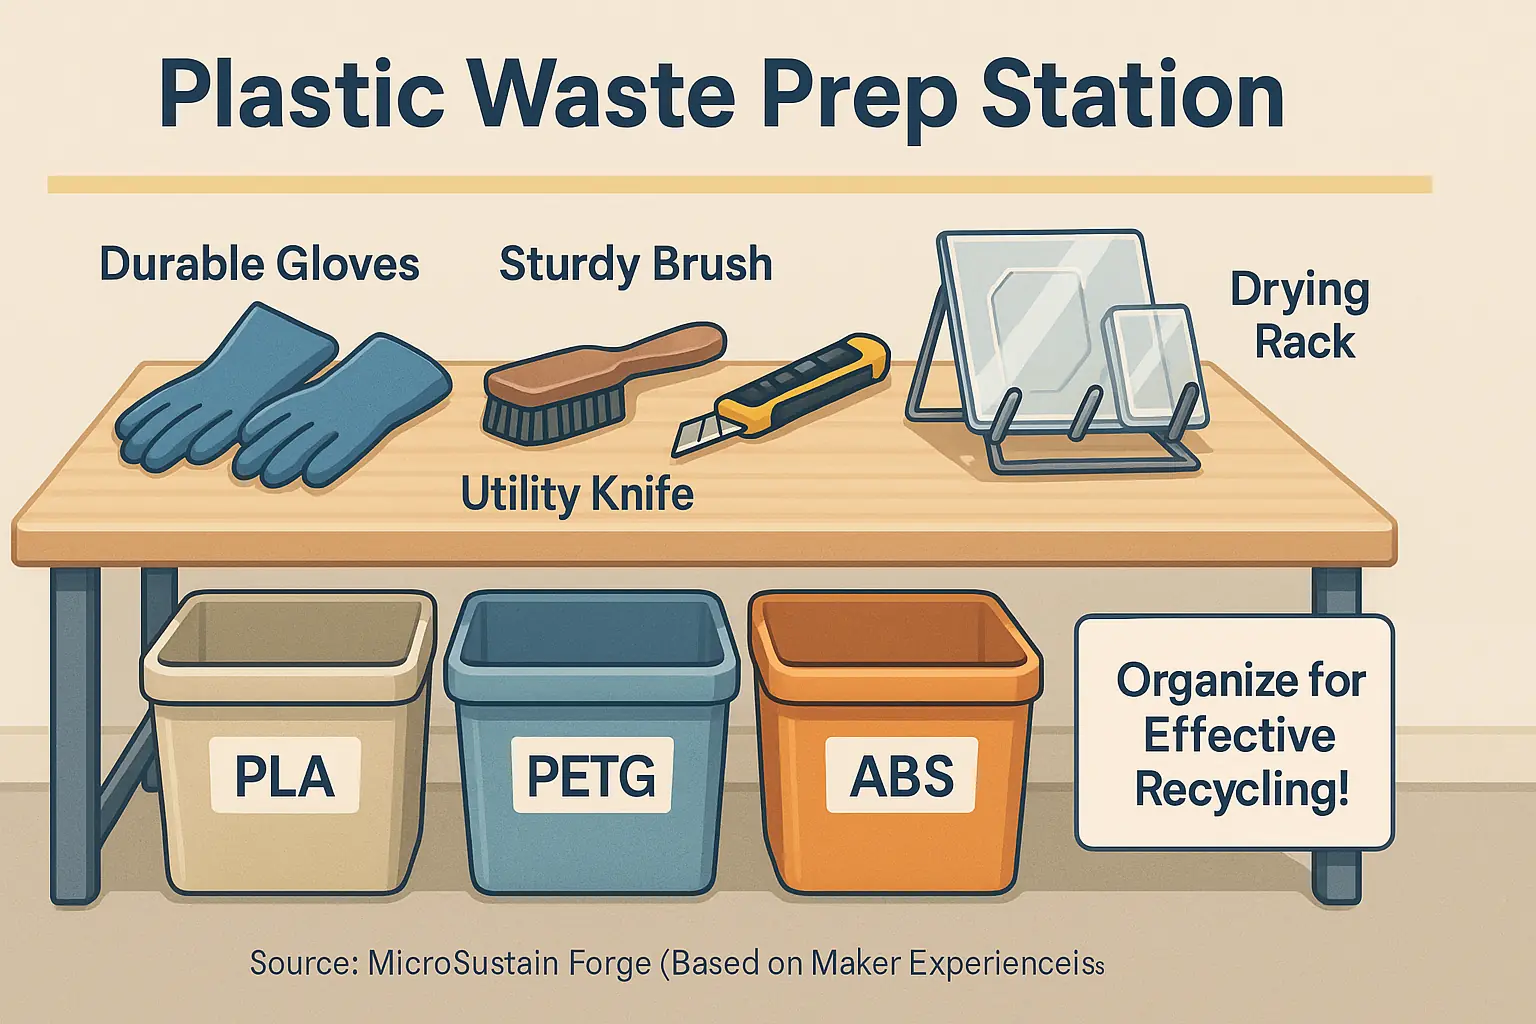
Good news: you don't need a high-tech lab for plastic waste preparation. The maker community relies on simple, often repurposed, tools. These items are probably already in your home or workshop. This accessibility keeps initial setup costs very low for makers.
Makers recommend several basic tools for sorting and cleaning plastics. Our community data mining highlights these essentials:
- Durable Gloves: They protect your hands from sharp plastic edges and unknown residues.
- Sturdy Brushes: These effectively scrub off stubborn grime and sticky labels from waste materials.
- Multiple Bins/Containers: These containers are vital for separating different plastic types accurately during the sorting phase.
- Sharp Utility Knife/Shears: These tools help break down larger plastic items or remove non-plastic components.
- Heat Gun/Hair Dryer (Optional, with caution!): This tool, used carefully, softens stubborn labels or gently helps dry cleaned plastic pieces.
Many users find creating a dedicated 'prep station' makes a huge difference. Even a small workshop corner with good lighting transforms the task. A nearby water source and clearly labeled bins can drastically improve your workflow. This simple organization prevents cross-contamination. Thoughtful setup is truly key; expensive gear is not the primary requirement.