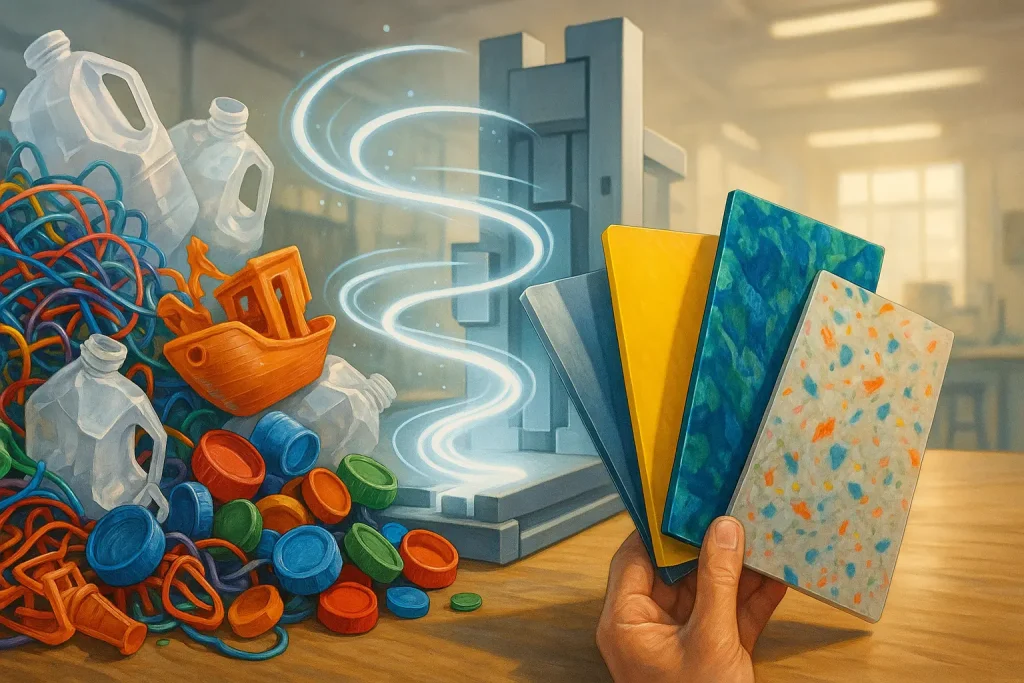
Transforming Plastic Waste: The Allure of DIY Injection Molding

Ever eye that plastic scrap pile? Wishing for its rebirth? DIY injection molding offers this transformation. Makers create new parts using their own plastic waste. This process closes a sustainability loop, right in your workshop.
This sounds industrial. Complex. But makers are doing it. Successfully. We've seen countless makers building their own machines, driven by sustainability and creativity. The maker community simplified injection molding; shared knowledge fuels this shift. Your garage can now house this technology, not just distant factories.
This guide shares practical knowledge. We detail homemade equipment types and explain mold creation. You will learn which recycled plastics perform best; crucial safety tips are included. These are hard-won community insights for your sustainable projects.
Choosing Your Forge: Popular DIY Injection Molder Designs (UGC Analysis)
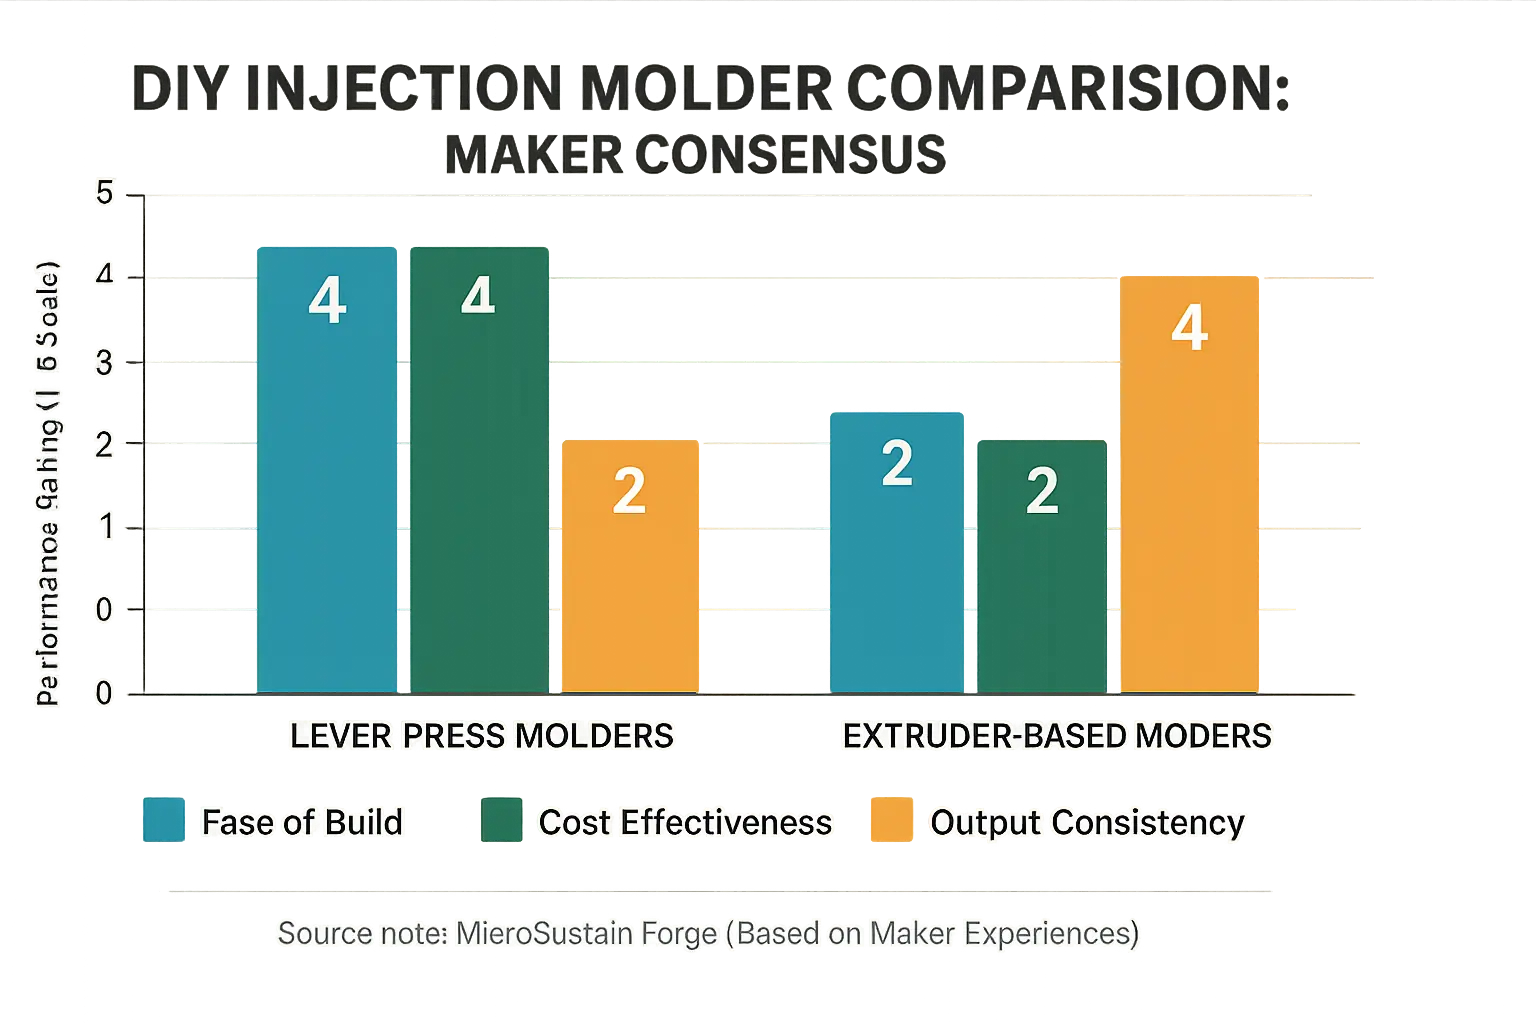
Makers commonly build two DIY injection molder types. Simple lever-press designs offer one path. More advanced extruder-based systems present another. Lever presses use a manually operated plunger for injection. Extruder systems employ a rotating screw inside a heated barrel to melt and force plastic.
Lever-press molders embody simplicity. Makers frequently construct them from scrap metal and a heat gun. A car jack often supplies the necessary injection force. Low build cost is their primary allure. Reality check? These designs offer limited pressure. Inconsistent outputs frustrate many users without precise operational control. They suit small, simple parts. Factory-grade precision is not their strength.
Extruder-based molders employ a heated screw. This screw plasticizes and injects material efficiently. Higher pressure is a key advantage. Better part consistency often results. These machines push out more uniform parts. They can also handle a wider range of recycled plastics. The unspoken truth? Build cost jumps. Technical complexity increases substantially. Many makers eye this as the 'next level' upgrade after mastering simpler injection methods.
So, which molder suits your forge best? Your project's complexity guides this decision. Your workshop budget also heavily influences the choice. Many find starting simple offers a smoother learning curve. Upgrading later remains a practical path. Choose carefully.
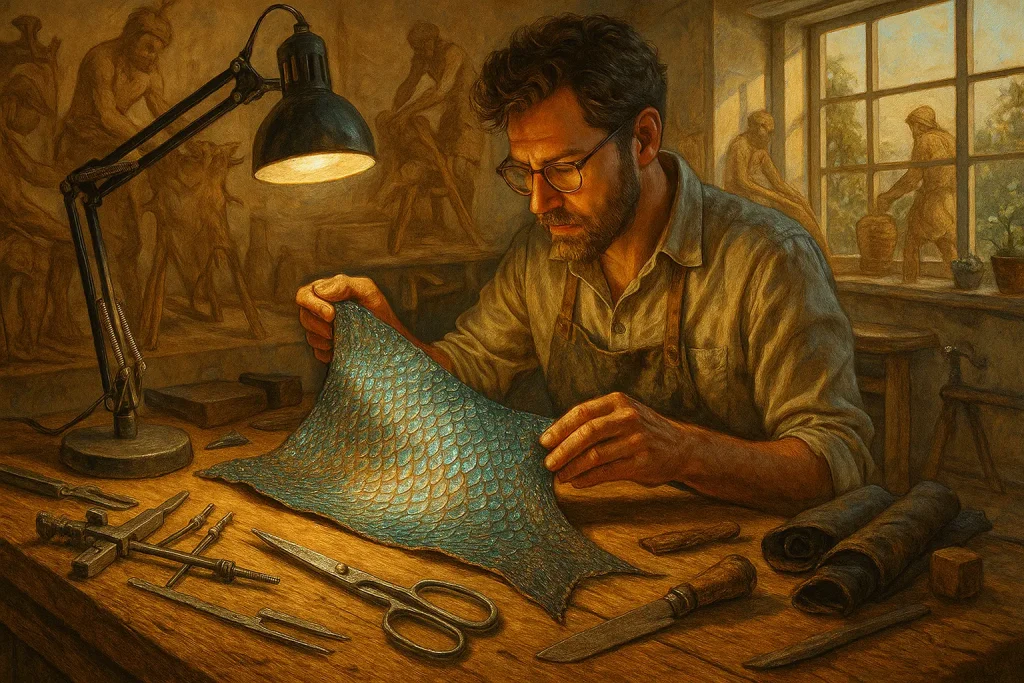
Crafting Your Canvas: DIY Mold Making for Recycled Plastic Injection
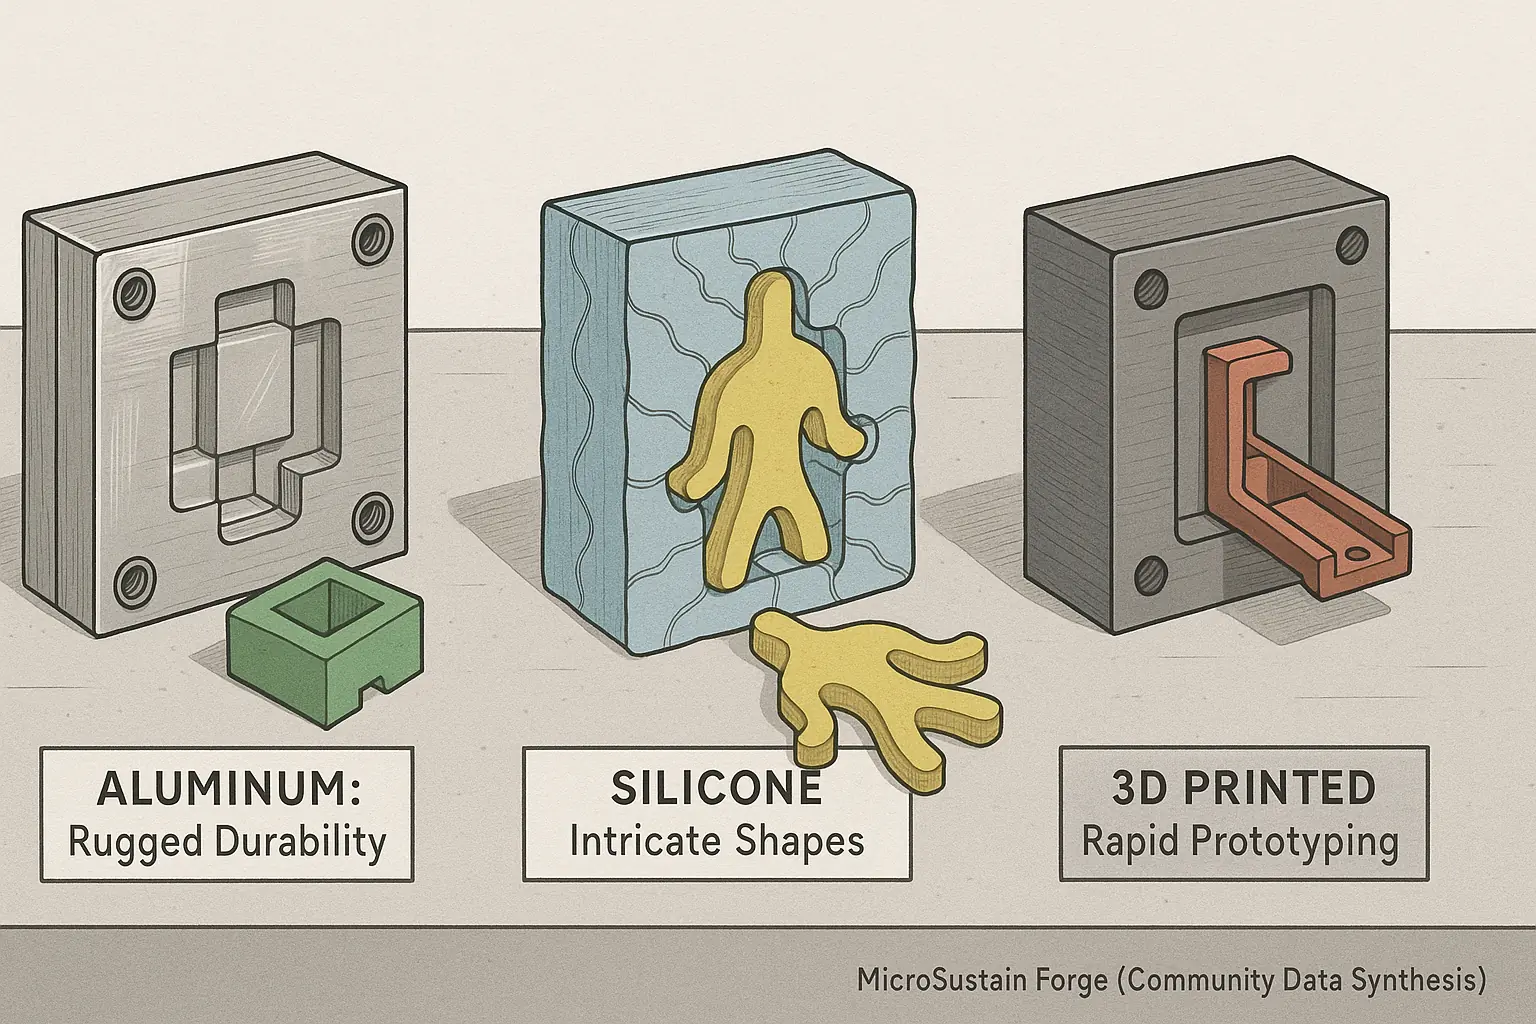
Your mold is the heart of your injection molding project. It dictates the final part's shape and overall quality. Our extensive community data mining reveals makers frequently turn to three main materials. Aluminum provides rugged durability for repeated use. Silicone molds excel with intricate shapes and simplify part removal. 3D printed molds offer the quickest path from digital design to a physical test part.
Aluminum molds are a workshop staple for experienced creators. These makers often machine simple aluminum blocks for robust, repeatable parts. This metal boasts excellent heat transfer properties. Consistent cooling benefits. The unspoken truth? Creating these molds demands machining skills. Access to specific tools can present a barrier for some. It's a commitment. The resulting part quality, however, often justifies the initial effort.
Silicone molds bring impressive flexibility to your creative projects. Users consistently report success creating organic, complex geometries using this material. But, what's the practical limit? They won't last indefinitely under repeated heat and pressure cycles. Makers pursuing rapid iteration often 3D print molds directly. These are excellent for a few initial test shots. The collective community experience is clear: these printed molds degrade quickly. Heat is their primary adversary.
So, which mold material suits your specific needs? Your project's complexity heavily influences this critical decision. The desired part count is also a major factor. Your available tools are another key consideration. Each material possesses its distinct sweet spot. No single choice fits all. Remember this fundamental point: proper mold design is absolutely crucial for successful injection molding. Thoughtful design prevents countless common headaches makers report later.
The Right Feedstock: Suitable Recycled Plastics for Injection Molding (UGC Successes)
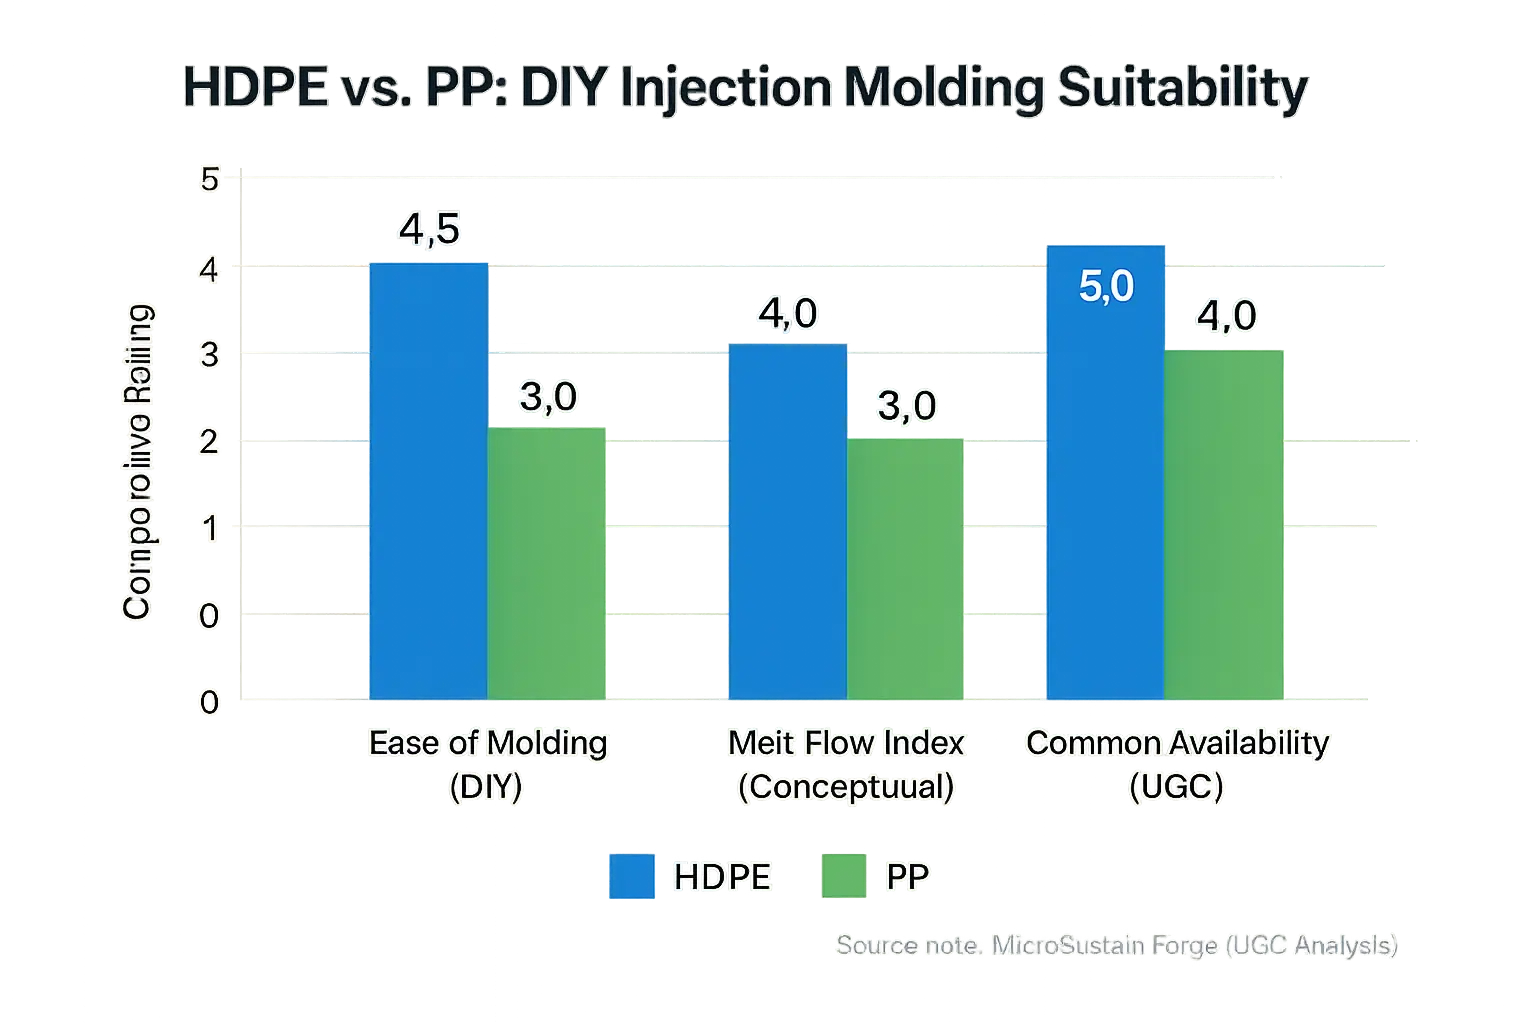
High-Density Polyethylene (HDPE) and Polypropylene (PP) dominate DIY injection molding. Why these two? Makers consistently find they melt predictably. They also flow well under pressures typical DIY machines generate. This predictability is key for successful parts.
HDPE often comes from milk jugs or bottle caps. This plastic is tough. It offers good durability. HDPE molds beautifully into sturdy, functional items. Our analysis of community projects shows makers appreciate its forgiving nature, especially for those new to injection molding. The catch? HDPE can shrink noticeably. Careful mold design compensates for this contraction. Many successful projects highlight this adjustment.
Polypropylene, or PP, is another common find. Look for it in yogurt containers and some bottle caps. Automotive components sometimes use PP too. PP offers good chemical resistance. Parts often have a slightly softer feel than HDPE. However, community experience suggests PP can be trickier. Its melt flow is sometimes lower. It might warp if cooled too rapidly. Users report PP often needs more finessing to achieve perfect results. Patience helps.
Sourcing these plastics requires care. Always sort your plastics by type. No mixing. Cleanliness is absolutely vital for good outcomes. Our UGC analysis confirms contaminants create molding headaches. Bad parts. Wasted time. Proper preparation of your recycled feedstock is critical. This step makes or breaks many DIY injection molding attempts.
Mastering the Melt: Key Process Parameters for DIY Injection Molding (UGC Wisdom)

Successful DIY injection molding demands more than a machine. You must master the 'recipe'. Temperature, pressure, and cooling are critical. These three elements are your secret sauce for consistent parts.
Temperature control is paramount for plastic integrity. Different plastics possess unique melt temperatures. HDPE often melts between 120-180°C; PP needs 160-220°C. Too cold, plastic won't flow. Too hot, it degrades, releasing fumes. Achieving consistent temperature in DIY setups is tricky; makers often use PID controllers or careful heat gun work.
Sufficient pressure ensures complete mold filling. Without enough oomph, you get incomplete parts or voids. Then, controlled cooling prevents warping. It also minimizes internal stresses. Many users find pre-heating molds slightly helps initial flow, then rapid cooling with air or water baths speeds cycles.
Every setup is unique. Expect to dial in your settings. Trial and error are key. Keep a log. Your successes and failures become your best teacher for refinement.
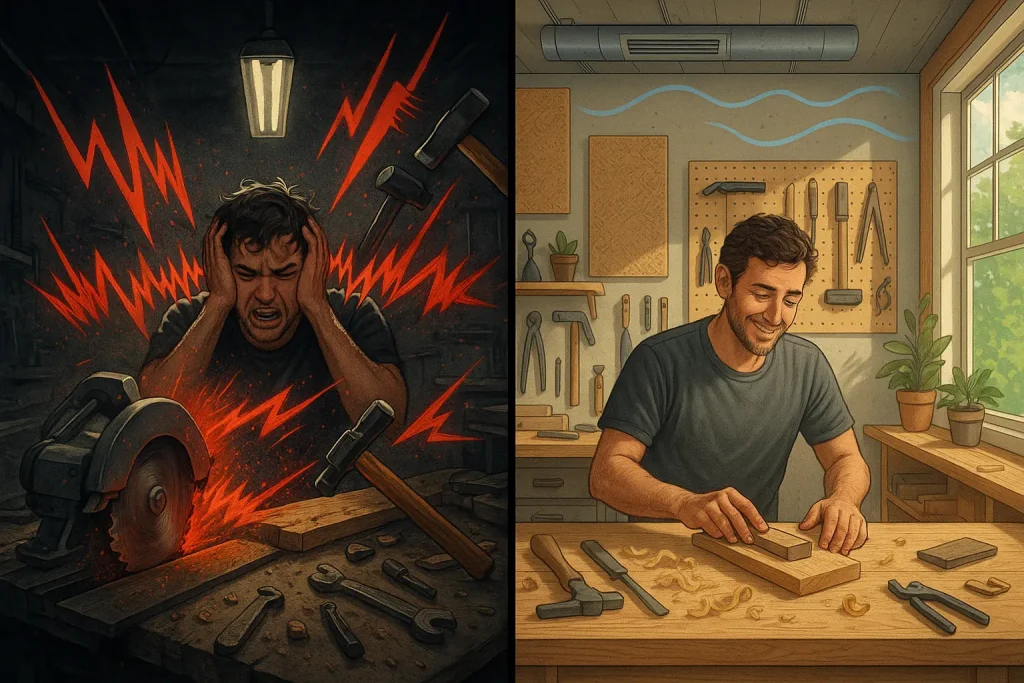
Safety First: Critical Precautions for DIY Plastic Injection Molding (UGC Warnings)
DIY injection molding involves serious hazards. Extreme heat, high pressure, and potentially toxic fumes are constant threats. Safety is not optional here; it is paramount. Ignoring safety protocols can lead to severe injuries or lasting health problems, a reality echoed in countless community discussions. Your well-being comes first.
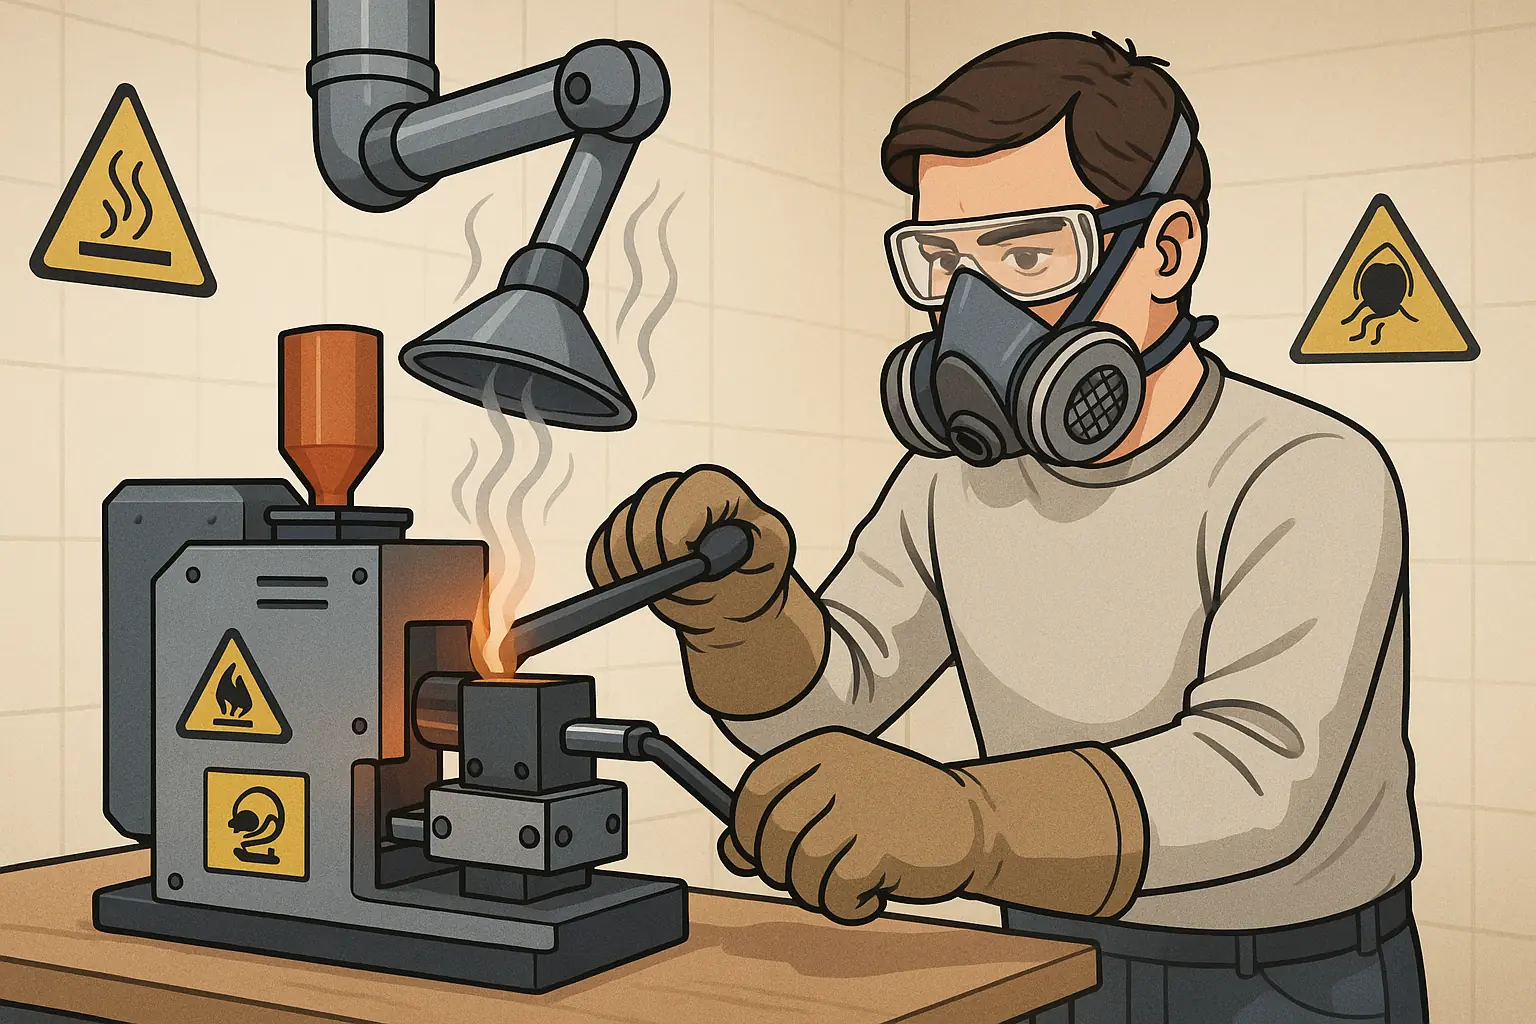
Molten plastic inflicts severe burns on contact. Always assume every part of your heating setup is dangerously hot. Many makers, through painful experience, have discovered that even surfaces appearing cool can retain enough heat to cause a nasty, unexpected burn. Use thick, heat-resistant gloves always. This simple precaution prevents many common injuries reported by DIY enthusiasts.
Melting plastics, especially recycled ones, can release harmful vapors. These recycled materials often contain unknown additives or contaminants, significantly increasing fume risks. Proper ventilation is non-negotiable for your workshop. Work in a well-ventilated area. A fume hood or direct exhaust system offers the best protection according to experienced users. A quality respirator protects your lungs from fine particles and chemical fumes. Do not rely on your nose; some dangerous fumes are odorless.
High-pressure systems create potential for flying debris if something fails. Always wear safety glasses. Secure your machine thoroughly before operation. No wobbles. No loose parts. Makers repeatedly stress awareness of all moving components to prevent entanglement or crush injuries. Always prioritize your well-being above any project. A cool part is not worth a trip to the ER.
Find Your Ideal DIY Injection Molder Design
Find Your DIY Injection Molder: What's Your Project?
Choosing the right homemade injection molder depends on your project's ambition and budget. Let's find your match, based on what makers like you actually use.
No single molder design fits every project. This tool helps pinpoint your best starting point. Your project's specific needs will guide the ideal choice.
Remember, every great maker started somewhere. Patience and persistence are your most valuable tools in DIY injection molding. Keep experimenting. Keep learning from the community. You'll forge amazing things from recycled plastic.
From Waste to Wonder: Inspiring Maker Projects from Recycled Injection Molding (UGC Showcase)

After all the effort of building your molder and perfecting your technique, what can you actually make? The answer, as makers prove daily, is surprisingly diverse! DIY injection molding transforms troublesome plastic waste. It creates functional treasures. It also produces unique artistic pieces. This process unlocks hidden value from discarded materials, turning trash into tangible assets.
Countless makers showcase an inspiring range of creations. We've seen custom board game pieces and unique buttons emerge from recycled plastics. Makers also produce bespoke enclosures for electronics and even sturdy small gears for various projects. One individual shared an entire line of colorful, recycled plastic plant pots, demonstrating aesthetic appeal. Each piece isn't merely an object; it’s a bold statement against waste. This inherent narrative of sustainability adds profound, unspoken value to every item.
Your imagination truly is the main boundary here. Begin with simple designs. Then, let your developing skills and the available plastic waste shape your next innovative creation. The community constantly shares fresh ideas and successful projects. So, join the conversation! What will you forge from waste?