What Are Mycelium Materials & Why Are Makers So Excited?
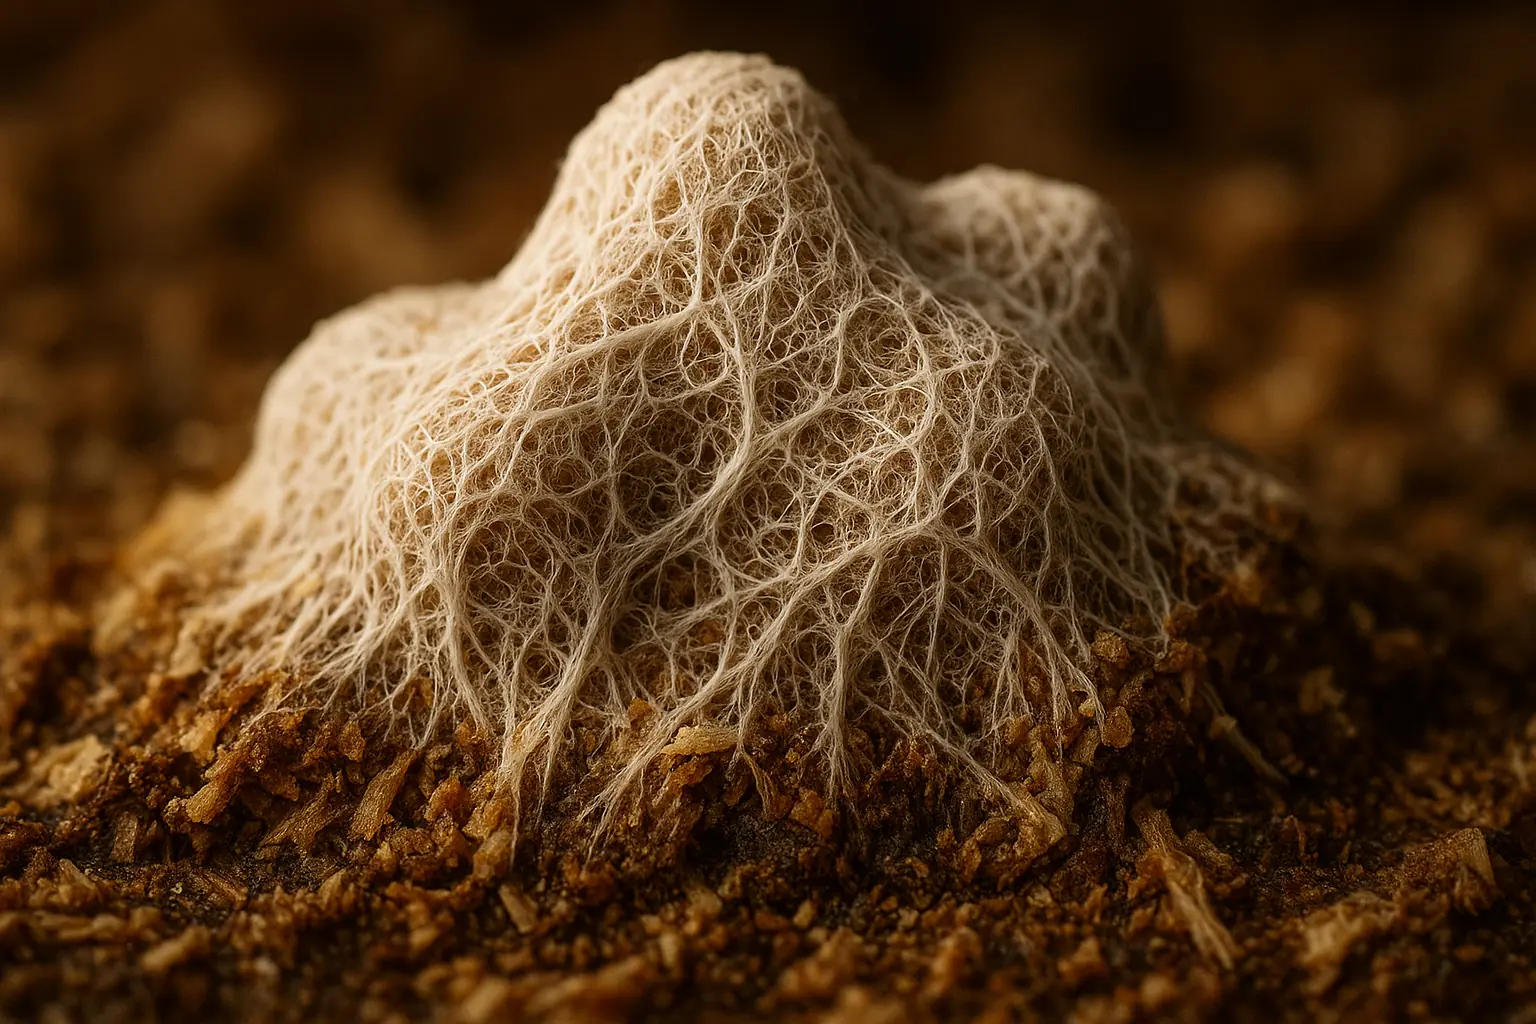
Mycelium materials captivate creative makers. This is nature's glue. Mycelium itself is the root network of fungi, a web of tiny threads. These threads bind agricultural waste, like sawdust or husks, into solid forms. Makers see huge eco-potential here. Think fully biodegradable creations. Grow your own materials in your workshop – sounds like sci-fi, right? It is not.
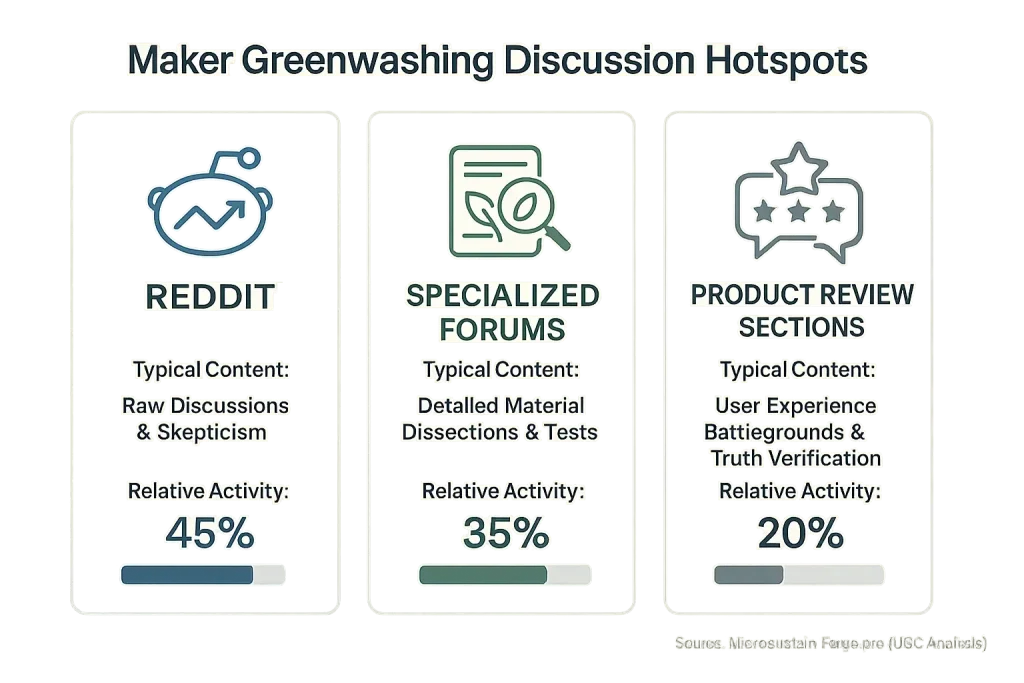
Initial maker reactions often show skepticism. Many doubt mycelium's real-world strength. Or its practical use. Is it just fancy compost? Community experiences, however, tell a far more exciting story. Proper processing unlocks surprising material qualities. Its true potential emerges. Many makers, our UGC analysis shows, initially dismissed it, thinking 'just fragile fungus.' Then, they saw peers in online forums crafting durable packaging, artistic sculptures, and even small furniture prototypes from mycelium composites. Minds were changed. The material's hidden versatility amazed them.
This guide explores the mycelium journey for makers. We demystify growing your own mushroom materials. You learn crafting techniques from experienced users. Understanding mycelium's unique properties is key for success. MicroSustain Forge delivers community-vetted knowledge. We explore this new frontier. We filter hype. You get practical, forge-tested insights to create responsibly.
Growing Your Own Mycelium Materials: A Step-by-Step Maker Guide (UGC Verified)
Growing your own mycelium materials feels ambitious. Many makers have mastered this process. Success often hinges on patience. This guide distills community-proven methods for your workshop projects. These steps reflect collective trial and error. They offer a solid path forward.
-
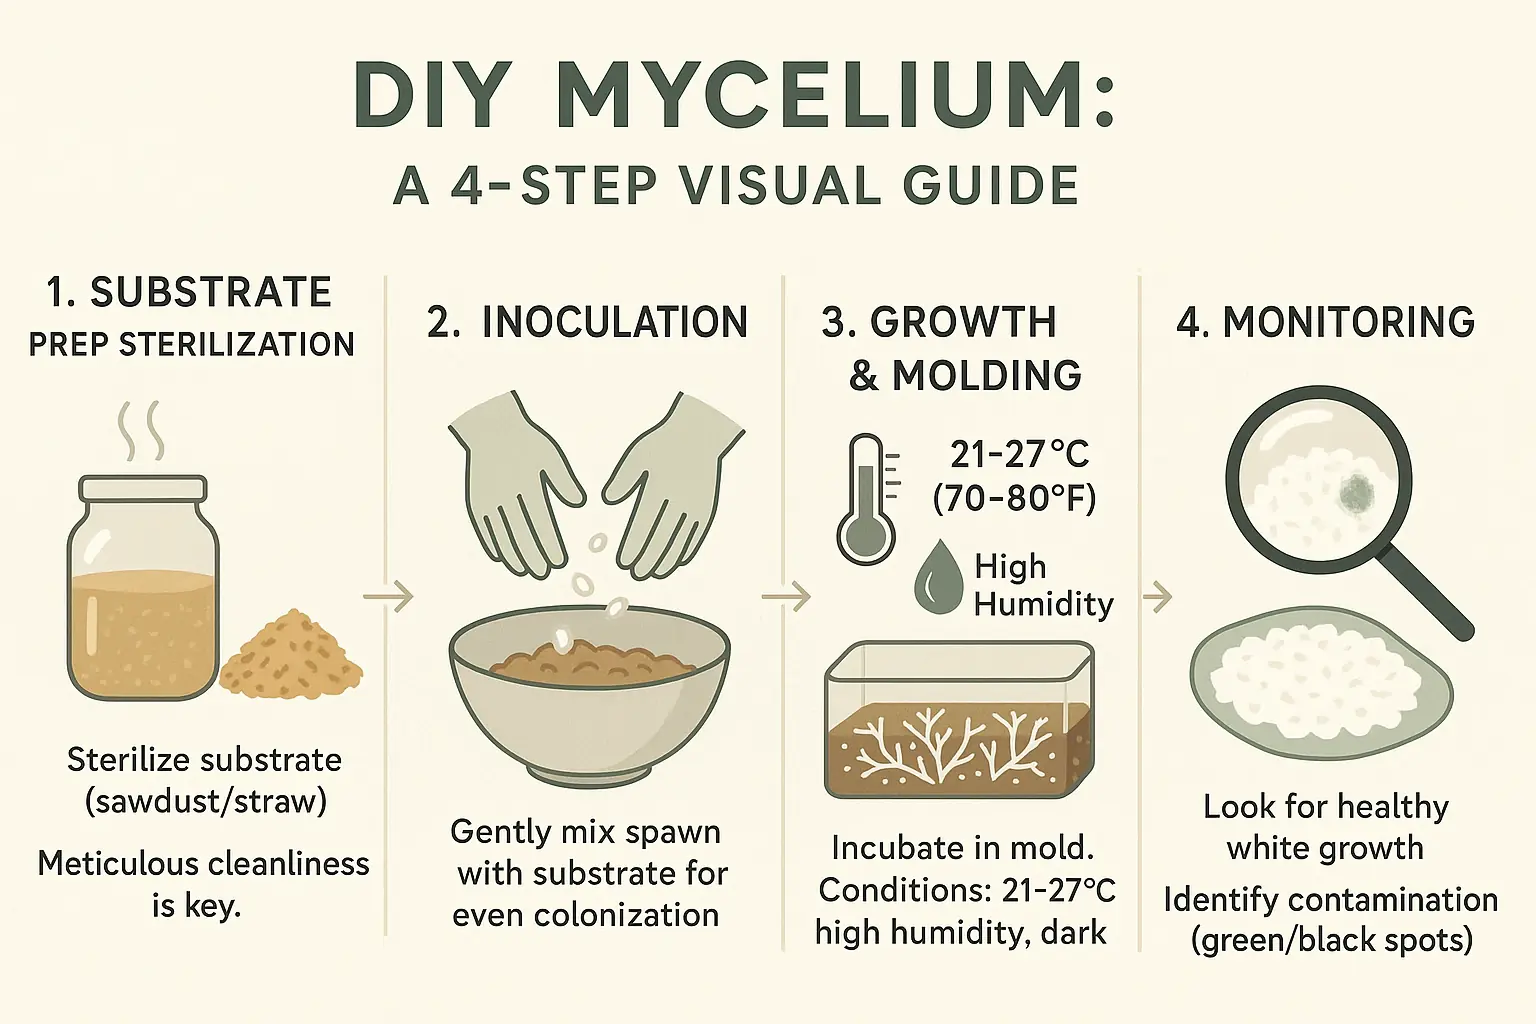
Substrate Preparation & Sterilization
Your mycelium needs food. This food is the substrate. Common substrates include sawdust or agricultural wastes like straw pellets. Proper preparation is absolutely vital. Sterilization kills competing organisms. Without it, contamination is almost certain. Many makers share stories of green fuzz ruining weeks of work. Their hard-won wisdom? Meticulous cleanliness is non-negotiable. Every tool, surface, and container must be spotless. This careful approach significantly boosts your chances of a healthy mycelium batch. Some users even dedicate specific, easily cleaned tools just for mycelium work.
-
Inoculation: Introducing the Mycelium
Inoculation means adding mycelium spawn to your prepared substrate. The spawn carries the living mycelium culture. You will gently mix the spawn throughout the substrate. Thorough distribution ensures even growth. Be gentle. Damaged spawn can slow colonization. Online forums frequently show makers sharing their preferred mixing techniques. Some use sterile bags for mixing. Others prefer large, disinfected tubs. The goal remains consistent. Get good spawn-to-substrate contact without compacting it too much.
-
Growth & Molding: Shaping Your Material
The inoculated substrate now goes into a mold. This mold dictates your final object's shape. Makers use various molds. 3D printed forms are popular for custom designs. Silicone molds offer easy release. Surprisingly, many find success with simple items. Clean plastic food containers work. Cardboard boxes can also serve as molds. The mycelium needs specific conditions to thrive. Warm temperatures, typically 21-27°C (70-80°F), are ideal. High humidity is also crucial. Dark environments often promote faster colonization. The community emphasizes stable conditions. Fluctuations can stress the mycelium.
-
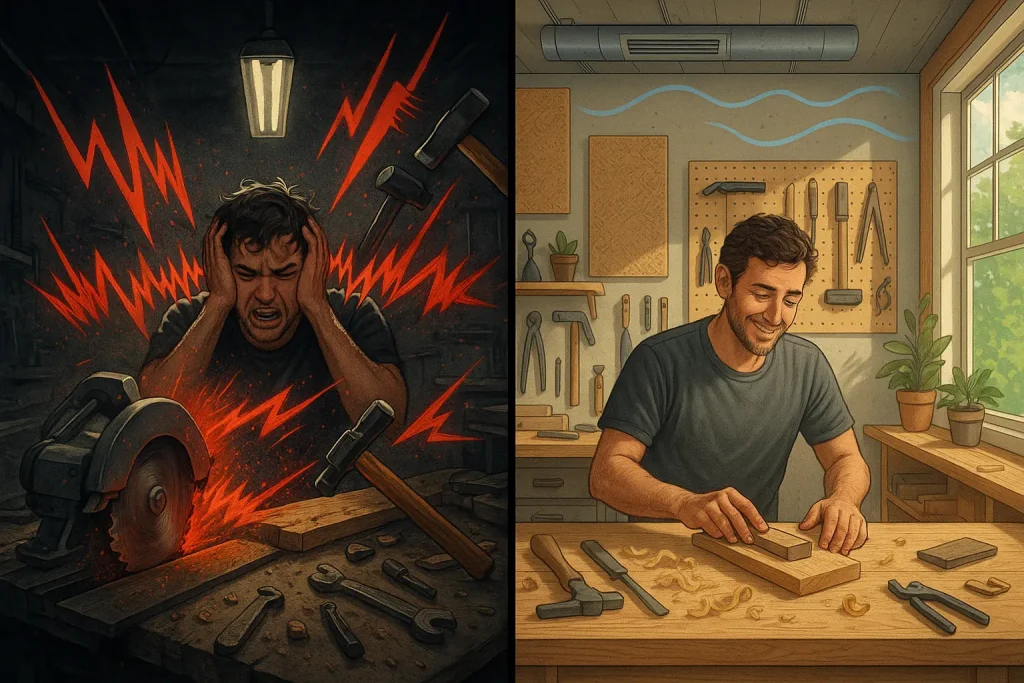
Monitoring & Troubleshooting: Nurturing Your Grow
Regular checks are important. You are looking for healthy white mycelial growth. You are also watching for problems. Green, black, or orange spots indicate contamination. These usually mean that batch is lost. A common issue reported by beginners is slow growth. This can result from low temperatures or insufficient moisture. Sometimes, a strange, sour, or overly sweet smell signals bacterial contamination. Community forums offer practical advice. Adjusting temperature or humidity slightly can help. Sometimes, increasing fresh air exchange (carefully, to avoid new contaminants) is suggested. Patience remains key. Mycelium grows at its own pace. Embrace the learning process.
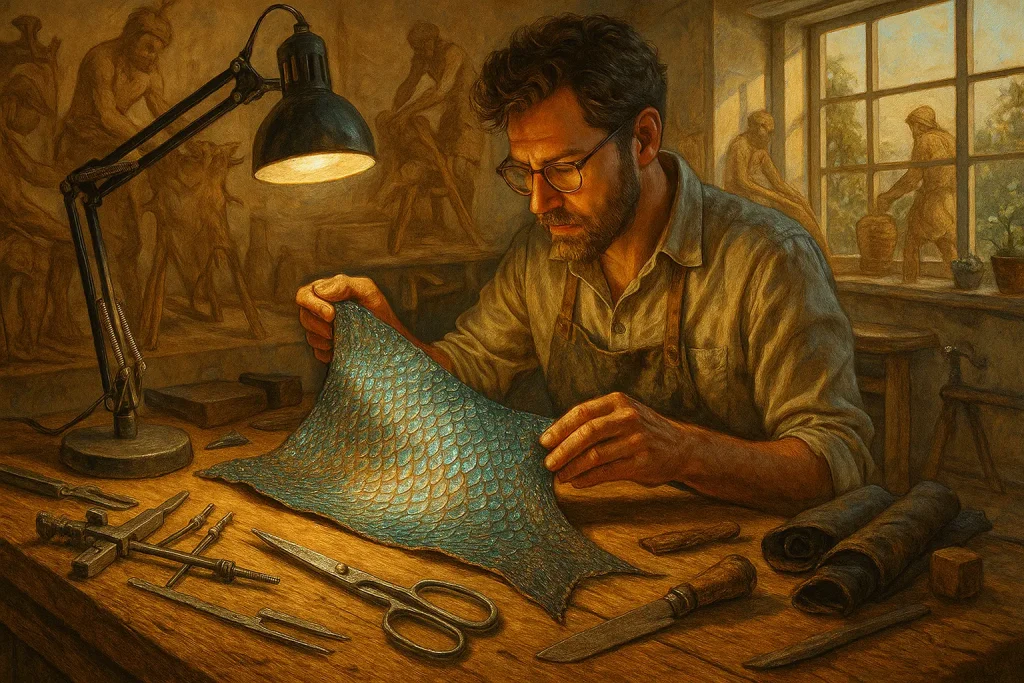
Drying & Finishing Mycelium: The Key to Durable & Usable Materials (Community Secrets)

Proper mycelium drying is absolutely critical. Many beginners get this wrong. Their projects become brittle, moldy, or simply unusable. Drying does more than remove water; it halts the mycelium's active growth. This process locks in vital structural integrity, forming the foundation of a durable material.
Makers frequently discuss several core drying methods. Oven drying at very low temperatures is common. Food dehydrators offer consistent airflow, a benefit many users praise. Simple air drying works too, though it demands significant patience. Extensive community discussions highlight a delicate balance here. Over-drying makes mycelium incredibly brittle. Under-drying, a common pitfall, almost guarantees mold. The collective wisdom? Low temperatures and slow processes achieve the best results, even if it takes longer.
Finishing techniques further transform dried mycelium. Applying eco-friendly sealants, like certain varnishes or natural waxes, significantly boosts durability. These finishes improve water resistance, a key factor for many applications. Aesthetics also get an upgrade, with finishes enhancing the material's natural look. Some makers report that selected finishes even add a bit of extra strength to their mycelium parts.
These drying and finishing stages are truly transformative. They convert a living, growing organism into a stable, functional biomaterial. This is the forge. Here, your raw mycelium becomes a usable product. It's now ready for diverse crafting and manufacturing projects, a testament to careful post-growth processing.
Crafting with Mycelium: Inspiring Project Ideas & Maker Showcases (UGC Gallery)

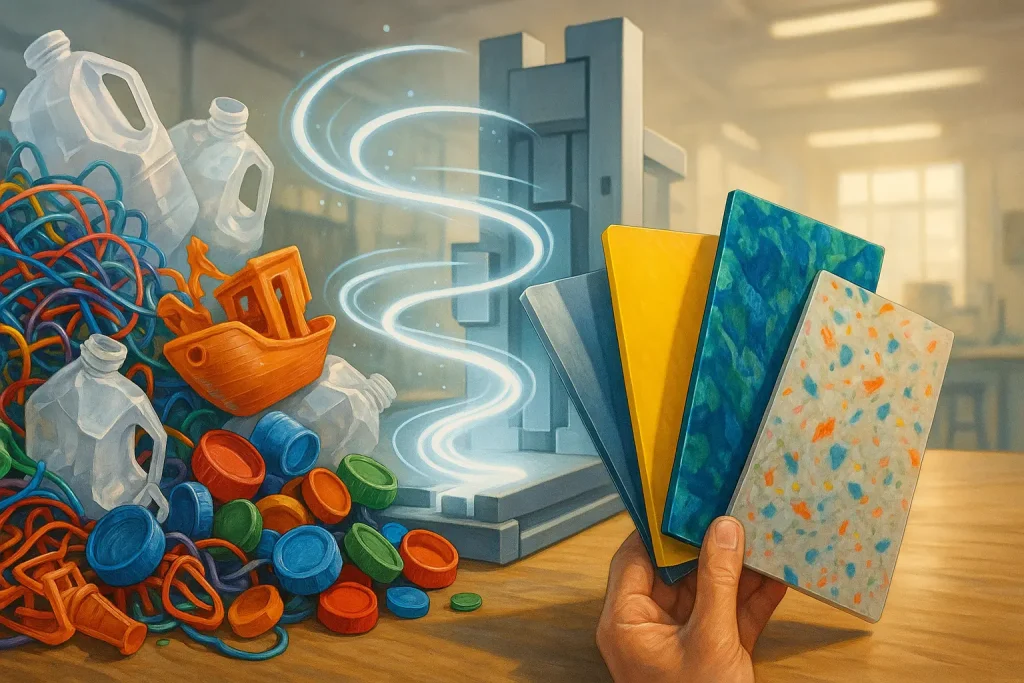
Mycelium materials offer surprising versatility. Proper growth and drying unlock these potentials. This material is not just for packaging anymore. Creative makers are truly pushing these boundaries. They fashion everything from art pieces with distinctive textures to functional object prototypes.
Community showcases reveal diverse project categories. Our extensive community data mining highlights several popular applications:
- Sustainable Packaging: Makers design custom, biodegradable inserts for fragile goods. User examples show protective forms for handmade electronics or delicate glassware.
- Bio-Art & Decor: Mycelium's organic texture inspires striking sculptures and decorative wall panels. Online forums feature images of earthy planters and abstract forms with distinctive aesthetics.
- Lightweight Insulation Panels: DIY enthusiasts experiment with mycelium for small-scale thermal or acoustic insulation. Some craft custom panels for sheds, pet houses, or sound dampening.
- Furniture Prototypes: Designers explore mycelium for creating lightweight, conceptual furniture pieces. Community galleries display experimental stools, small tables, and lamp bases.
Mycelium’s distinct appeal in crafting is clear. Its lightweight nature simplifies handling and assembly for complex projects. Good insulating properties offer functional benefits in specific builds. The earthy, organic aesthetic captivates creators seeking natural material expressions. Mycelium may not replace all traditional materials, but it opens exciting avenues for sustainable design exploration.
Makers should experiment boldly. The community constantly uncovers new applications. Fresh techniques emerge from shared trials and open discussions. Your project might spark the next mycelium innovation. Imagine that.
Mycelium Project Planner: Your Step-by-Step Guide to Growing Success
Select a stage of your mycelium project to get tailored tips and insights from the maker community:
Your mycelium journey starts here! Select a stage above to unlock community wisdom.
This planner transforms your mycelium project into a clear, step-by-step guide. Community wisdom distilled. You will anticipate common challenges, avoid typical beginner errors, and achieve successful outcomes more quickly.