Pelletizing Your Failed Prints: Why This 'Hidden Step' Matters for DIY Filament
Makers diligently shred failed prints. Their extruders still jam frequently. What gives? Pelletizing provides the crucial answer, an intermediate stage many unknowingly skip in their DIY filament journey. This is a hard-won community insight. Many only find this out after wrestling with inconsistent extruder performance.
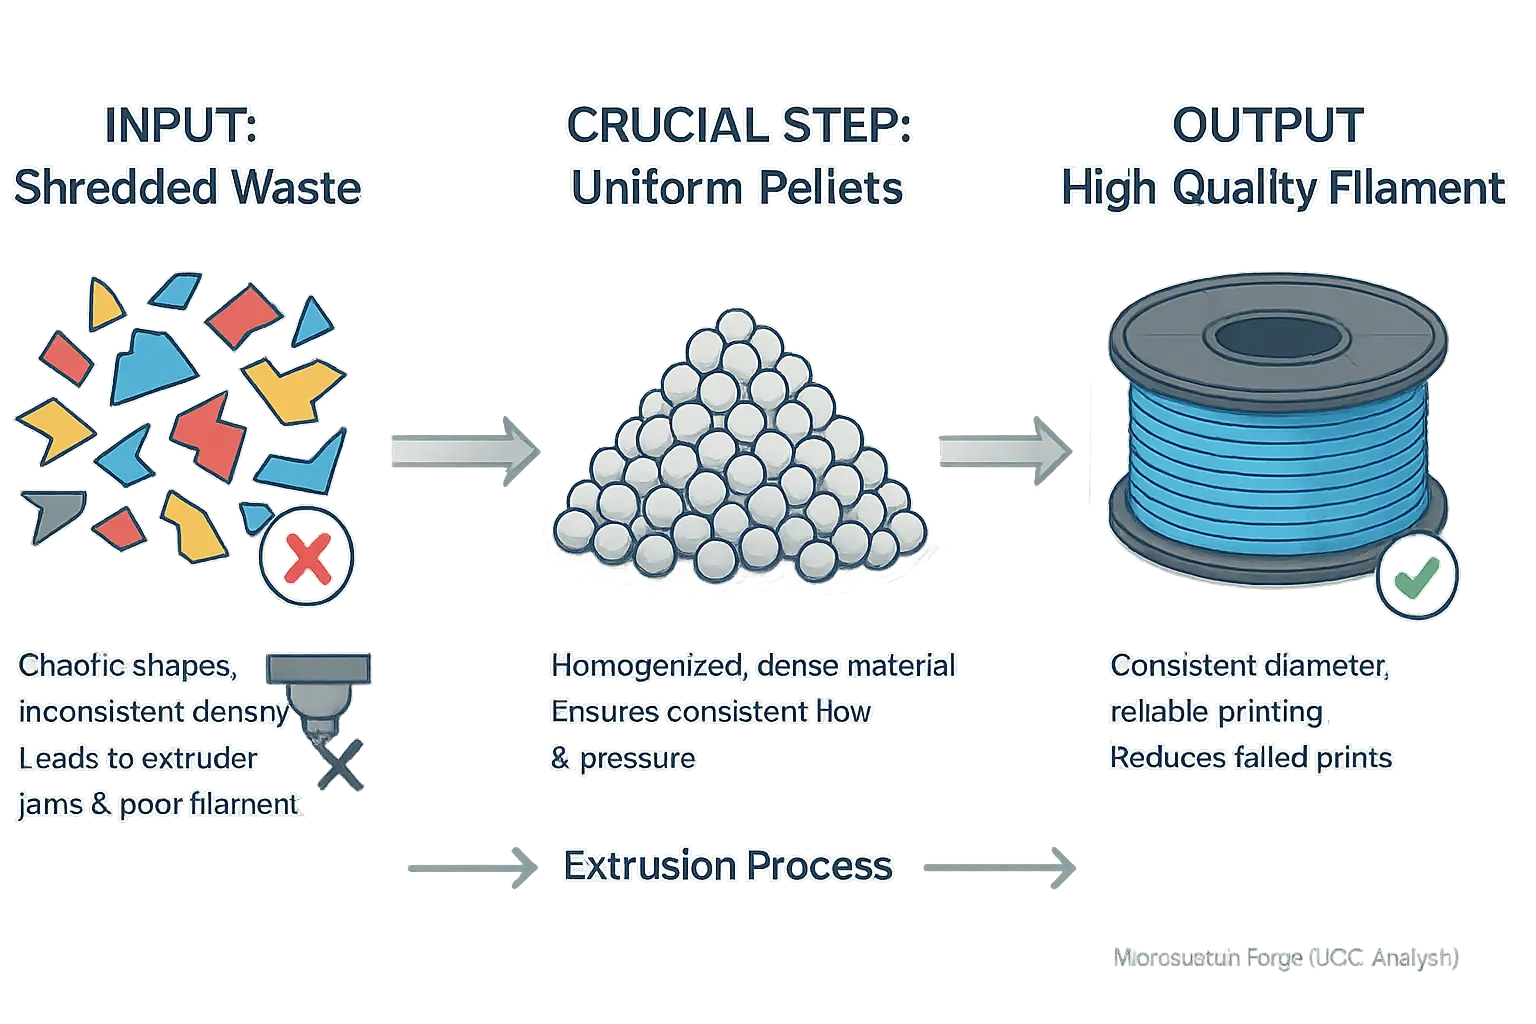
Imagine this common scenario. A maker invests in a DIY filament extruder. They feed it carefully shredded plastic. The extruder clogs. Repeatedly. Pelletizing changes this frustrating narrative entirely. This process converts chaotic shreds into uniform, dense pellets. These pellets create a far superior feedstock for any filament extruder.
Ignoring pelletizing severely degrades your filament quality. You will see inconsistent filament diameter. Such filament directly causes more failed prints, undermining recycling goals. Don't let this hidden step sabotage your efforts. MicroSustain Forge illuminates this essential process for reliable DIY filament.
Why Bother? The Real Benefits of Pelletizing for DIY Filament Quality & Extruder Health
Why bother pelletizing your plastic? It truly upgrades your DIY filament production. Makers consistently find pelletizing solves major headaches. Quality improvements are real.
- Consistent Filament Diameter: Pellets create uniform feedstock. This directly improves filament diameter consistency. Users report fewer prints ruined by sudden thickness variations. Your print quality benefits.
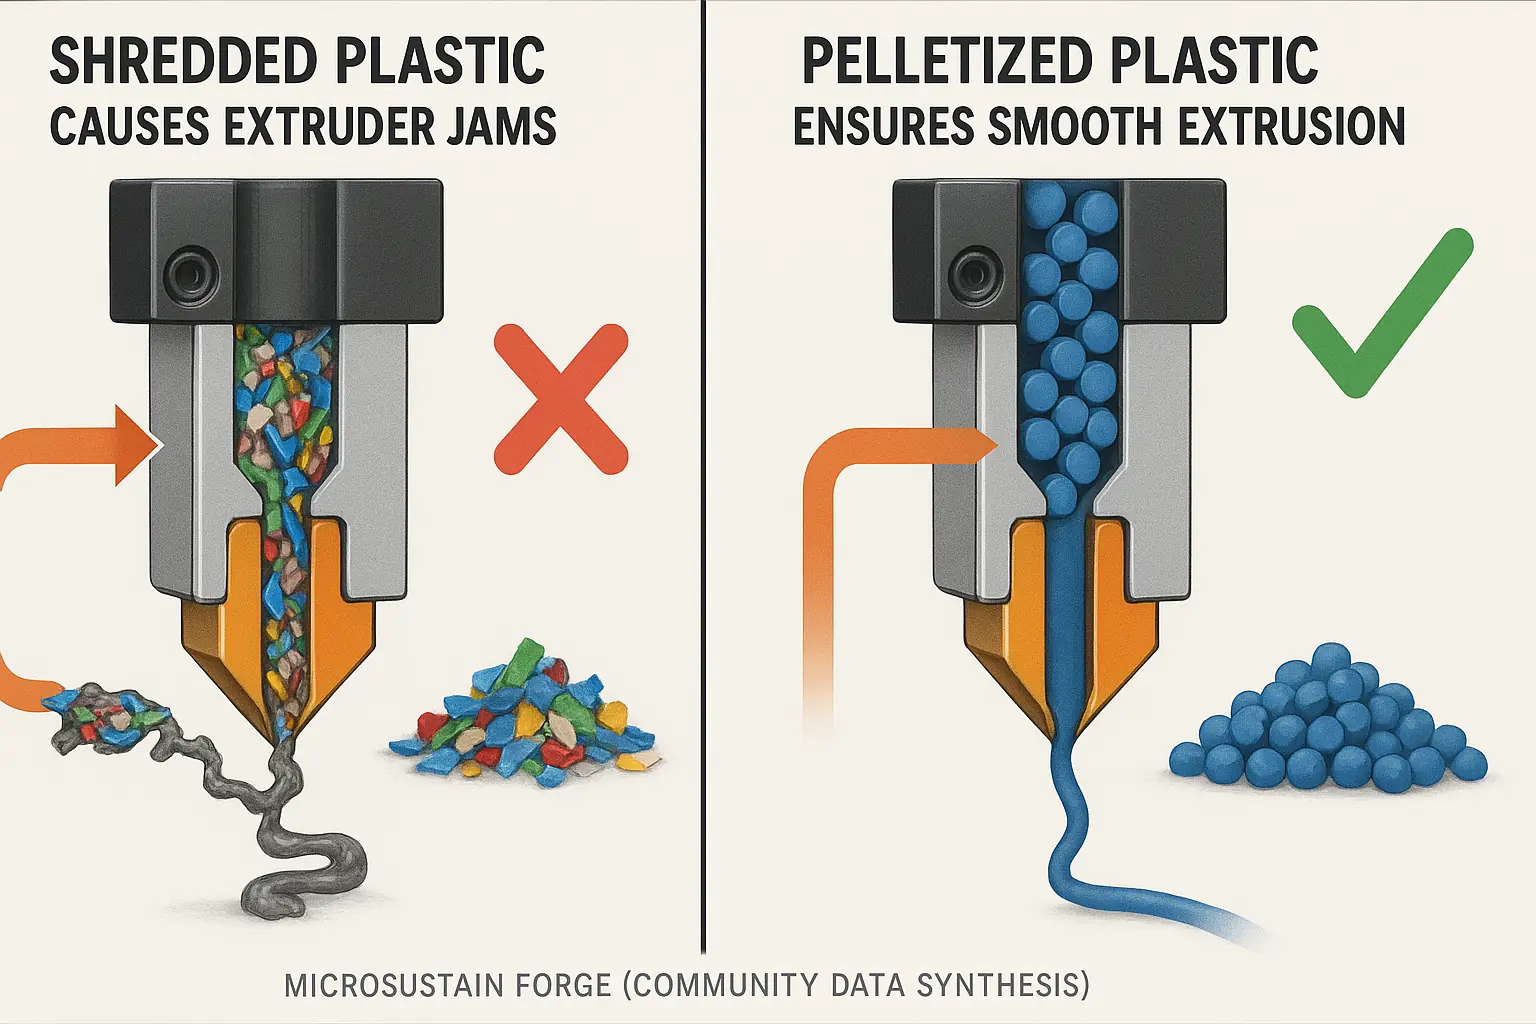
- Reduced Extruder Clogs: Irregular shredded plastic often causes extruder jams. This is a common frustration. Pellets feed smoothly into the extruder. This dramatically cuts down on clogs. Fewer frustrating stops.
- Better Material Flow & Thermal Stability: Uniform pellets melt evenly. Material flow becomes much more predictable. This enhances thermal consistency inside your extruder. Makers frequently observe smoother extrusion as a result.
- Simplified Handling & Storage: Fluffy shredded plastic is bulky. It can be quite messy. Pellets are dense. They simplify material handling. Storage in your workshop also becomes far more efficient.
DIY Pelletizing Methods: From Simple Hacks to Dedicated Machines (What Makers Really Use)
DIY pelletizing methods offer makers control over plastic waste. These techniques transform scraps into usable filament feedstock. Community experiences reveal a spectrum, from basic hand tools to more involved homemade machines. Each approach carries distinct practicalities. And risks.
The Manual, Low-Tech Approach: When Patience is Your Tool
Simple tools can process plastic. Heated knives melt and segment waste. Modified hole punches can create small, irregular pieces. These methods require minimal investment. Almost anyone can try them. The barrier to entry is incredibly low. Many makers start here. They test concepts. They learn plastic properties.
The trade-off? Time. And consistency. Manual pelletizing is exceptionally slow. Producing even a small quantity of pellets takes hours. The resulting pieces often vary wildly in size and shape. This inconsistency affects extruder performance later. Imagine feeding an extruder with non-uniform pellets. It’s a recipe for jams. Or uneven filament. User reports highlight this frustration. Patience becomes your primary tool. Not everyone has it.
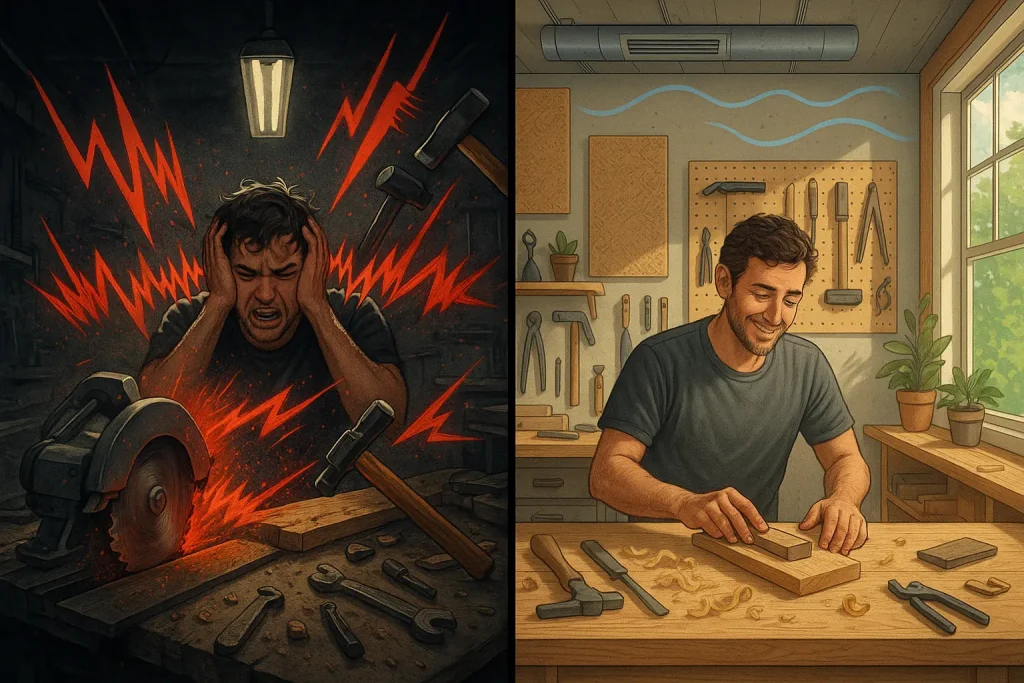
Safety is a huge concern. Heated knives mean burn risks. Sharp edges on punches or cut plastic can easily cause injuries. Makers frequently share stories of minor burns or cuts. Always wear heat-resistant gloves. Work in a well-ventilated area. Secure your workpiece. Never rush. Simple tools still demand respect.
Modified Grinders: Powering Up with Caution
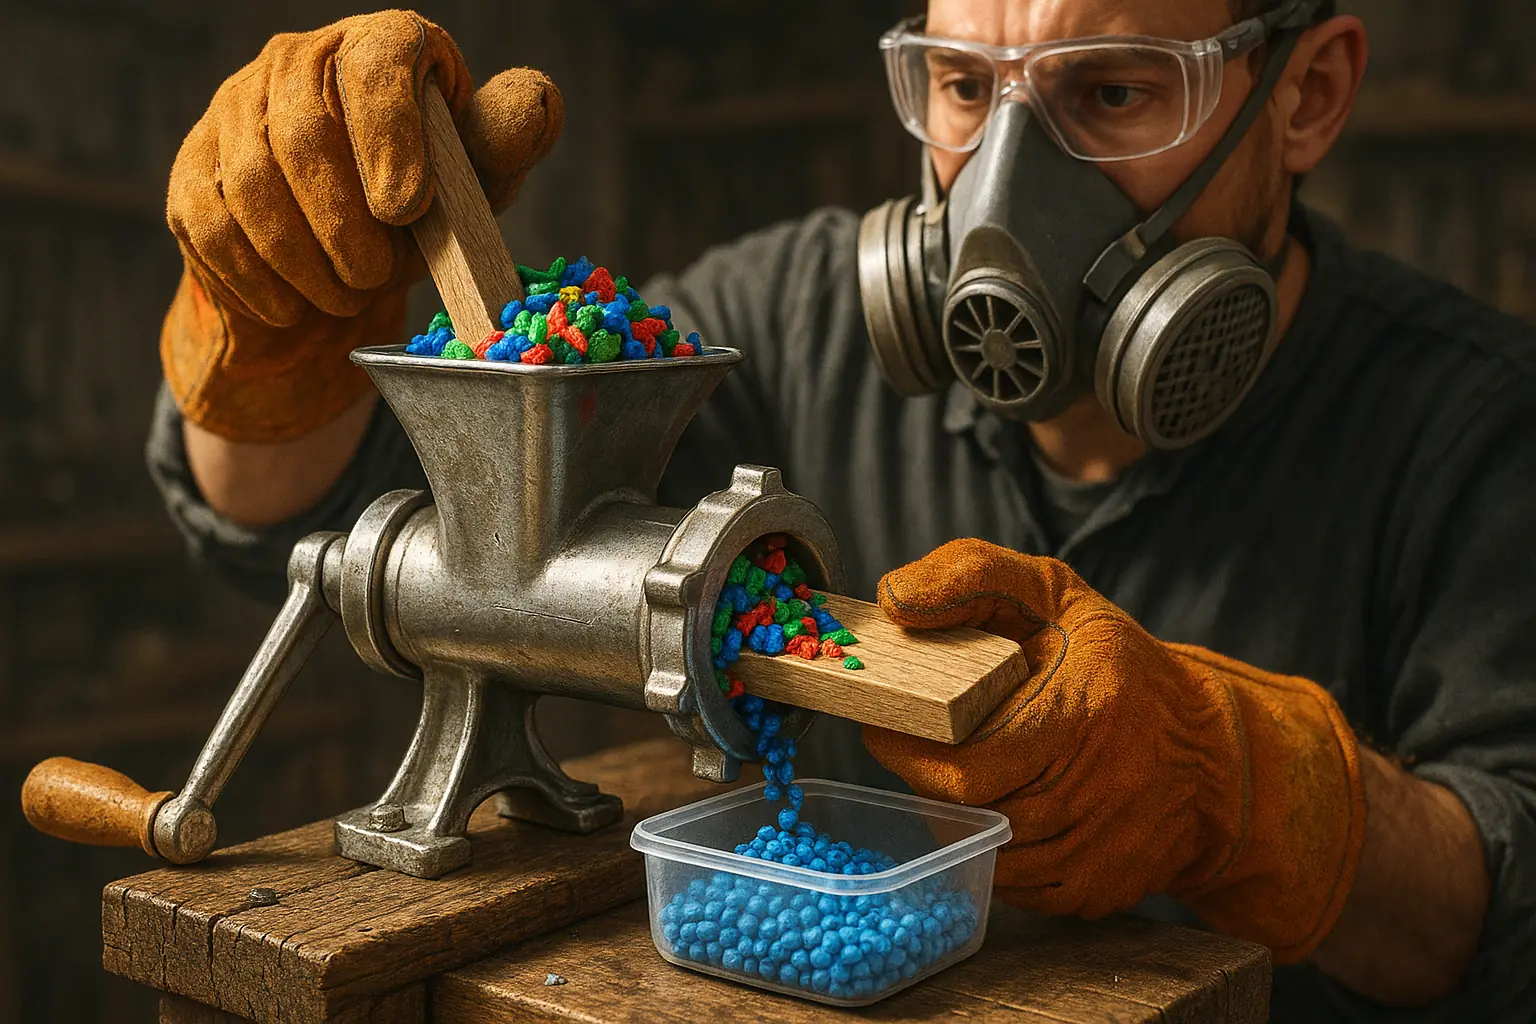
Makers seek more throughput. Modified grinders offer this. Repurposed kitchen meat grinders are a common starting point. Some users adapt them for softer plastics. Others invest in or build small, specialized plastic grinders. These powered options significantly speed up pellet production. Community builds showcase ingenious adaptations. The appeal is clear: more pellets, less manual effort.
Power introduces new dangers. Those blades are unforgiving. Fingers and grinders do not mix. Motor strain is another issue. Many grinders, especially food-grade ones, are not designed for hard plastics. Overheating or motor burnout is a frequent complaint. Then there are fumes. Grinding plastic can release volatile organic compounds (VOCs). What are you breathing in?
Strict safety protocols are non-negotiable here. Ensure all guards are in place. Use a sturdy push stick. Never reach into the grinder chute. Wear safety glasses. A respirator suitable for VOCs is essential. Listen to your machine. If it struggles, stop. Community advice stresses incremental feeding. Small batches prevent jams. They also reduce motor stress. Some makers build enclosures. These contain debris. They can also help manage fumes if vented properly.
Integrated Extruder Dies: The Direct Route
Some filament extruders offer a more direct path. These machines can incorporate pelletizing dies. Shredded plastic gets fed into the extruder. It melts. It then passes through a specialized die. This die cuts the molten plastic into uniform pellets as it exits. This method promises consistency. The pellets are often quite regular in size and shape. This is ideal for re-extruding into filament.
The main advantage is pellet quality. Uniform pellets feed smoothly. They melt evenly. This leads to better filament. However, this solution is not universal. It requires an extruder specifically designed or modified for such a die. This might mean a higher initial investment. Not all DIY extruder plans include this feature. Makers often share their custom die designs online. Or they discuss modifications to existing setups.
Challenges exist. Die design is critical. The wrong cutter speed or hole size creates issues. Plastic type also matters. Some plastics smear. Others shatter. Finding the sweet spot takes experimentation. Users report a learning curve. Safety for these systems aligns with general extruder safety. Hot components are a burn hazard. Moving parts present pinch points. Ensure proper guards. Understand your machine’s limits. The promise of consistent pellets directly from your waste is compelling. The community continues to refine these integrated approaches.
Pellet Quality: Achieving the Right Size, Shape, and Purity for Flawless Filament (UGC Tips)
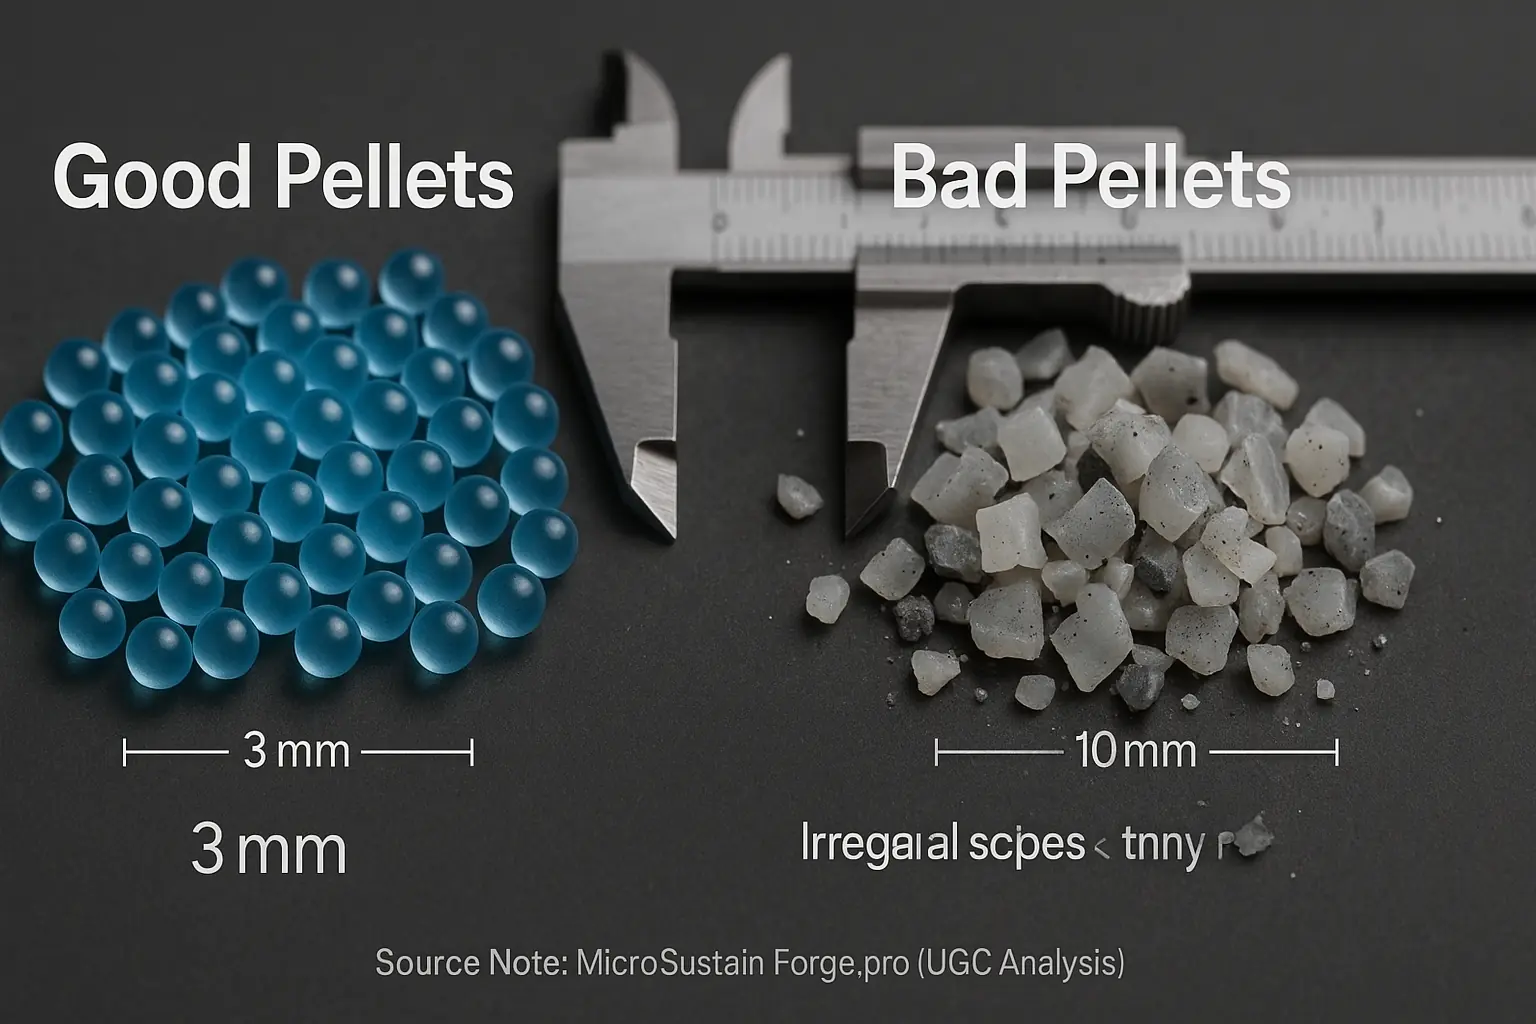
Not all pellets are created equal. This is a core truth in DIY filament making. Pellet quality directly dictates filament consistency. It often represents the 'secret sauce' distinguishing successful prints from frustrating failures. Poor pellets mean headaches. Quality pellets enable smooth, reliable extrusion, a goal every maker shares.
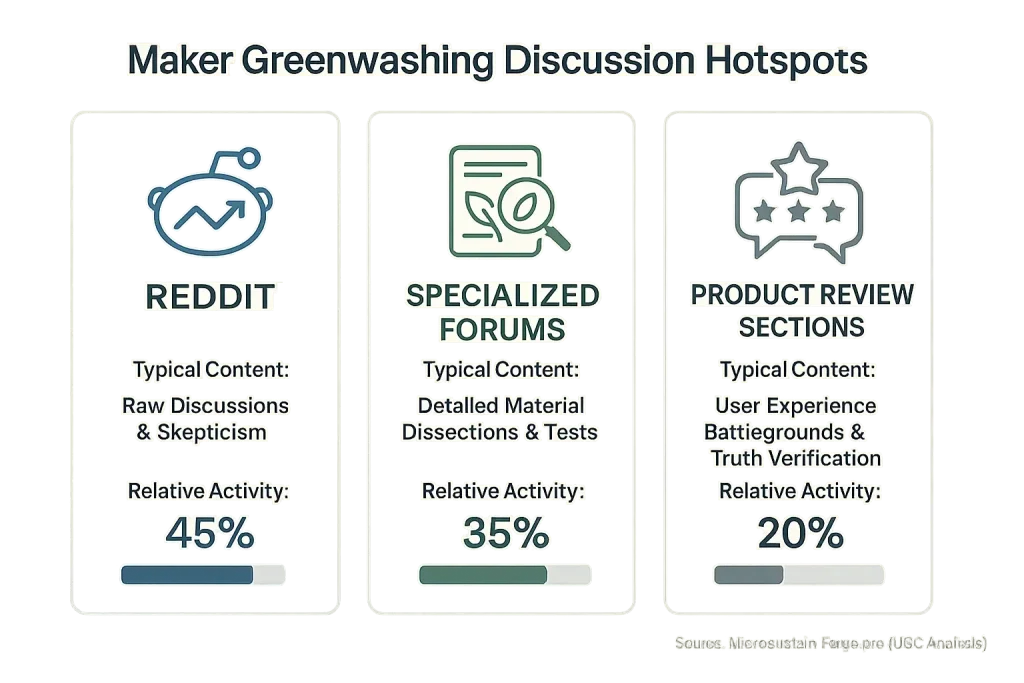
Consistent pellet size matters immensely. Shape uniformity also plays a huge role. Our community data mining reveals irregular pellets cause uneven feeding into extruders. This leads to inconsistent melt flow. Filament diameter then varies wildly. Imagine this: weeks spent chasing extrusion ghosts. One maker, like many others, finally traced persistent filament woes back to a simple source. Inconsistent pellet size. A true 'aha!' moment, echoed across maker forums. Makers now visually inspect batches. Some even use calipers for random checks, ensuring pellets meet their standards.
Pellet purity is non-negotiable for quality filament. Contaminants are silent filament wreckers. They compromise structural integrity. They frequently cause frustrating nozzle clogs. What do experienced makers advise? They meticulously sort their plastic feedstock. Many thoroughly wash recycled plastics before shredding and pelletizing. These straightforward preventative measures prevent significant downstream printing problems, saving time and material.
Achieving consistent, high-quality pellets is an iterative process. It demands patience. It requires careful refinement of your methods. Think of pelletizing as a craft in itself. Mastering this crucial step significantly pays off. Your extruder will run smoother. Your prints will consistently demonstrate higher quality. This dedication to pellet quality is a hallmark of successful DIY filament producers.
Drying & Storing DIY Pellets: Protecting Your Feedstock from Moisture Damage (Community Best Practices)
Moisture is the silent saboteur of your DIY plastic pellets. It quietly degrades your feedstock. Ever heard your filament crackle or pop during extrusion? That noise often signals moisture escaping, a problem that frequently begins with damp pellets. Wet pellets lead to frustrating bubbling. They create brittle, weak filament. Your prints then suffer from poor layer adhesion. These issues directly mirror the headaches makers experience with improperly stored raw filament spools.
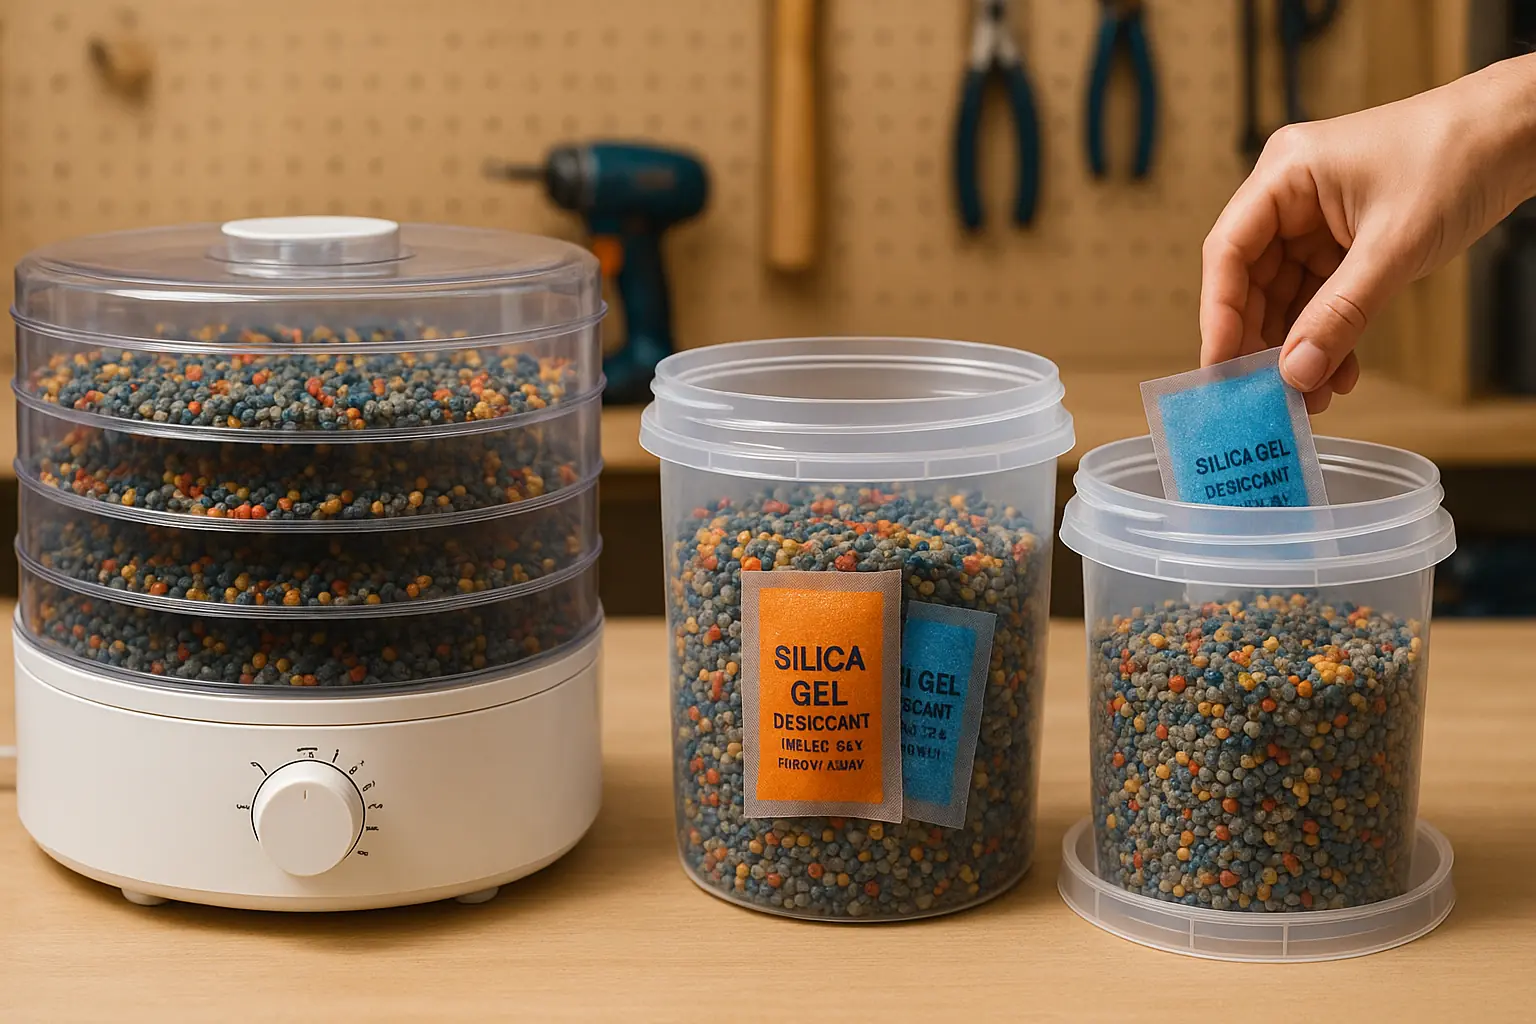
Makers dry pellets effectively using several community-tested methods. Food dehydrators are a very popular choice, offering gentle, consistent heat that safeguards material integrity. Your kitchen oven can also work; use its lowest temperature setting and monitor pellets closely to prevent clumping or melting. Some resourceful creators build custom drying boxes, often incorporating small fans and low-wattage heat sources. The absolute key for any method? Precise temperature control. This critical step prevents pellet damage and protects your valuable material investment before extrusion even begins.
Proper storage immediately follows drying. Airtight containers are non-negotiable for keeping your prepared pellets pristine. Always include desiccants inside these containers. These moisture-absorbing packs continuously work to trap any residual humidity. A fantastic, low-cost lifehack shared widely in maker circles involves repurposing large, sealable food-grade buckets or PET containers. Combine these with rechargeable silica gel beads (the kind that change color when saturated). This simple setup provides excellent, long-term protection for your feedstock, keeping it ready for top-quality filament production.
This attention to pellet moisture might seem like a small detail. Its impact on your DIY filament quality and print reliability is enormous. Dry, well-stored pellets directly translate to smoother extrusion. They produce stronger, more consistent filament. Your prints will thank you. This small effort delivers big returns.
DIY Pelletizer Method Explorer: Find Your Perfect Setup (UGC Insights)
Find Your Ideal DIY Pelletizing Method
Choose your primary goal for pelletizing. We'll show you community-vetted methods, their pros, cons, and essential safety tips.
Select a goal and click 'Explore Methods' to see community insights!